
Mastering the Raptor Titan Dynamics: A complete guide to 3D-printed aviation

Key Takeaways
Building your own aircraft from Titan Dynamics files offers unparalleled satisfaction and customization, though it demands a disciplined approach to 3D printing and assembly. These five takeaways will help you achieve success during your build:
- Select high-grade LW-PLA filament to ensure your airframe remains light enough to maintain buoyancy and flight performance.
- Calibrate your printer meticulously for thin-wall precision, focusing on extrusion rates and cooling to manage structural integrity.
- Invest in reliable servos and flight controllers to ensure the responsive maneuverability required for high-speed FPV flight.
- Prioritize CG alignment before every takeoff to ensure the airframe handles as expected during testing.
- Establish a routine maintenance schedule to inspect structural stress areas and repair minor fractures before they develop into flight-critical failures.
Getting started with Titan Dynamics 3D models
Embarking on the journey of 3D printing an aircraft like the Raptor Titan Dynamics allows you to push the boundaries of what is possible in hobby aviation. The process requires a shift in mindset, treating your machine as a factory for high-performance structural components rather than simple trinkets. By mastering your workflow, you create a craft that feels deeply personal and perfectly tailored to your piloting goals.
Choosing the right 3D printer for aviation parts
Selecting hardware for aviation requires a stable machine capable of handling extended print times without fluctuations in bed level or temperature. You need a setup that offers high precision to ensure parts fit together seamlessly, as even minor variances can weaken airframe joints. Relying on machines known forconsistent dimensional accuracy is the first step toward building a flight-worthy craft.
Essential filament types for high-performance RC planes
Weight is the enemy of any flying object, which is why choosing the right material is non-negotiable for success. Lightweight PLA is the industry standard for these builds, as it foams during the extrusion process to create a hollow internal structure that mimics traditional foamboard. This allows for a durable yet incredibly lightweight airframe that maintains structural rigidity under high aerodynamic pressure.
Preparing your files for the Raptor build
Software preparation is where your build strategy moves from concept to reality. Slicing these files correctly involves setting shell counts and infill patterns that prioritize weight savings without sacrificing strength. Your goal is to maximize the strength-to-weight ratio by intelligently distributing filament density in the areas that see the most turbulence.
Understanding the print-in-place design philosophy
Modern 3D-printed aviation relies on designs that integrate hinges and sockets directly into the print output, streamlining the final construction phase. This innovative approach reduces the total number of parts, which minimizes potential points of failure often found in complex assemblies. By respecting this design philosophy, you ensure that the complex kinematics of control surfaces function precisely as the designers intended.
Essential hardware and components for the Raptor
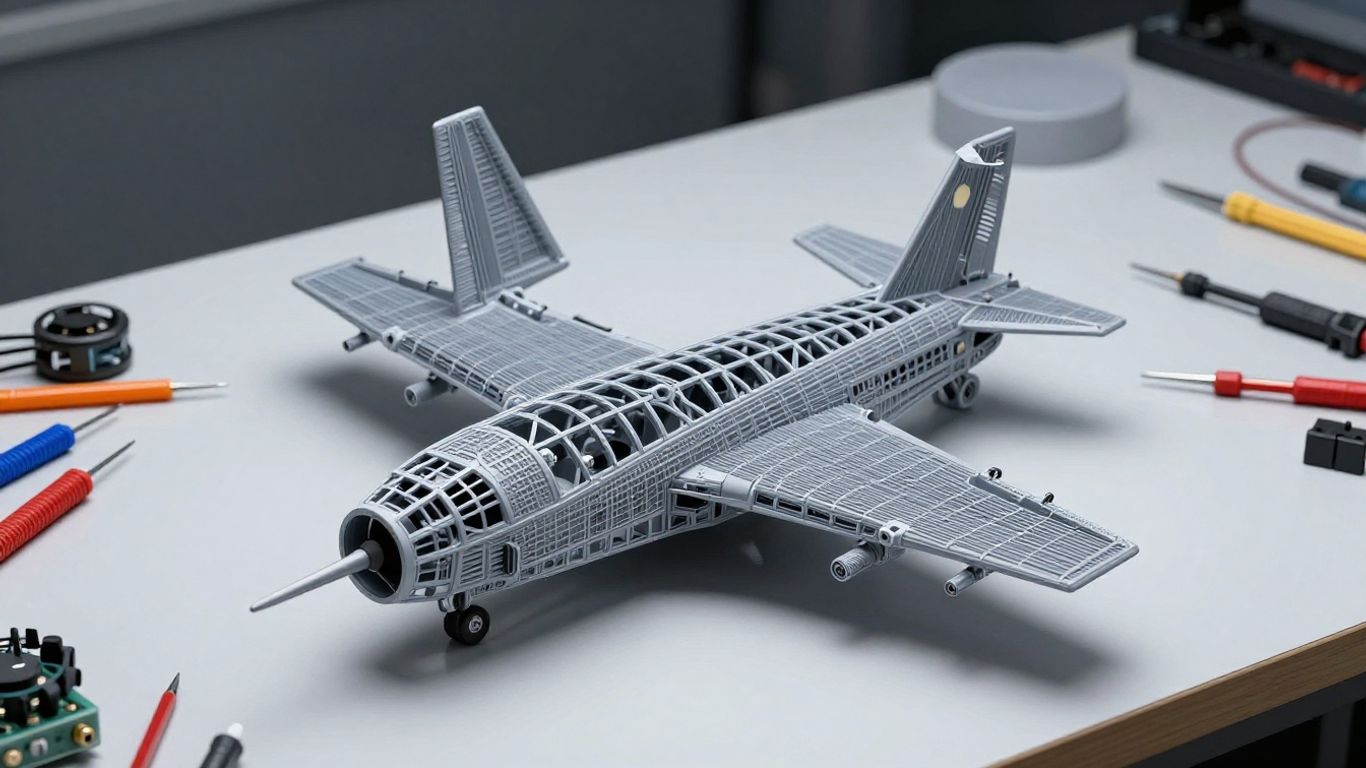
Selecting the secondary components for your build is just as critical as the print quality itself. Every gram of weight must be accounted for within the airframe to ensure that the final center of gravity allows for neutral flight characteristics. When you approach your avionics selection with care, you build a vehicle capable of navigating the skies with the agility of a race drone.
Selecting motors and propellers for optimal flight performance
Your motor selection needs to balance raw thrust with extreme efficiency to maximize time in the air. A well-matched propeller system ensures that you are effectively converting current from your battery into movement without generating excessive drag. Following the hardware guidelines ensures you get the most out of your IF1200A Inspired Flight Technologies platform components that translate well to high-performance builds.
Navigating servo requirements and control surface linkage
Precision in control surfaces requires servos that offer minimal slop and high-speed responsiveness. If your linkages have play, the aircraft will feel soft and unpredictable in the air, which makes it harder to learn fine corrections. Many builders find that using high-torque sub-micro servos provides the necessary authority for sharp turns while keeping the nose profile aerodynamic.
Battery capacity and weight distribution considerations
The placement of your power source determines your flight envelope more than any other variable. Ensuring your battery is accessible yet securely mounted is standard practice for DJI FPV enthusiasts, and the same discipline applies to custom airframes. Use the following metrics as a baseline for your weight management:
| Component | Importance | Target Weight Goal |
|---|---|---|
| Battery Pack | High | 250g – 350g |
| Flight Controller | Medium | 20g – 50g |
| Motor Mount | High | 30g – 45g |
| Avionics Tray | Low | 15g – 25g |
Maintaining these targets prevents overloading the printed airframe and ensures the electronics remain well within their operational voltage limits.
Avionics and flight controller options for FPV flying
Integrating a modern flight controller unlocks the potential for stabilized flight modes that make the first few hours in the air much smoother. Selecting a unit with integrated OSD telemetry allows you to monitor voltage and speed in real-time, preventing mid-air surprises. Proper installation is key, as managing Skydio X2D style vibration rejection ensures that your video signal remains clear and your guidance software functions accurately.
Assembly techniques for thin-wall printed components
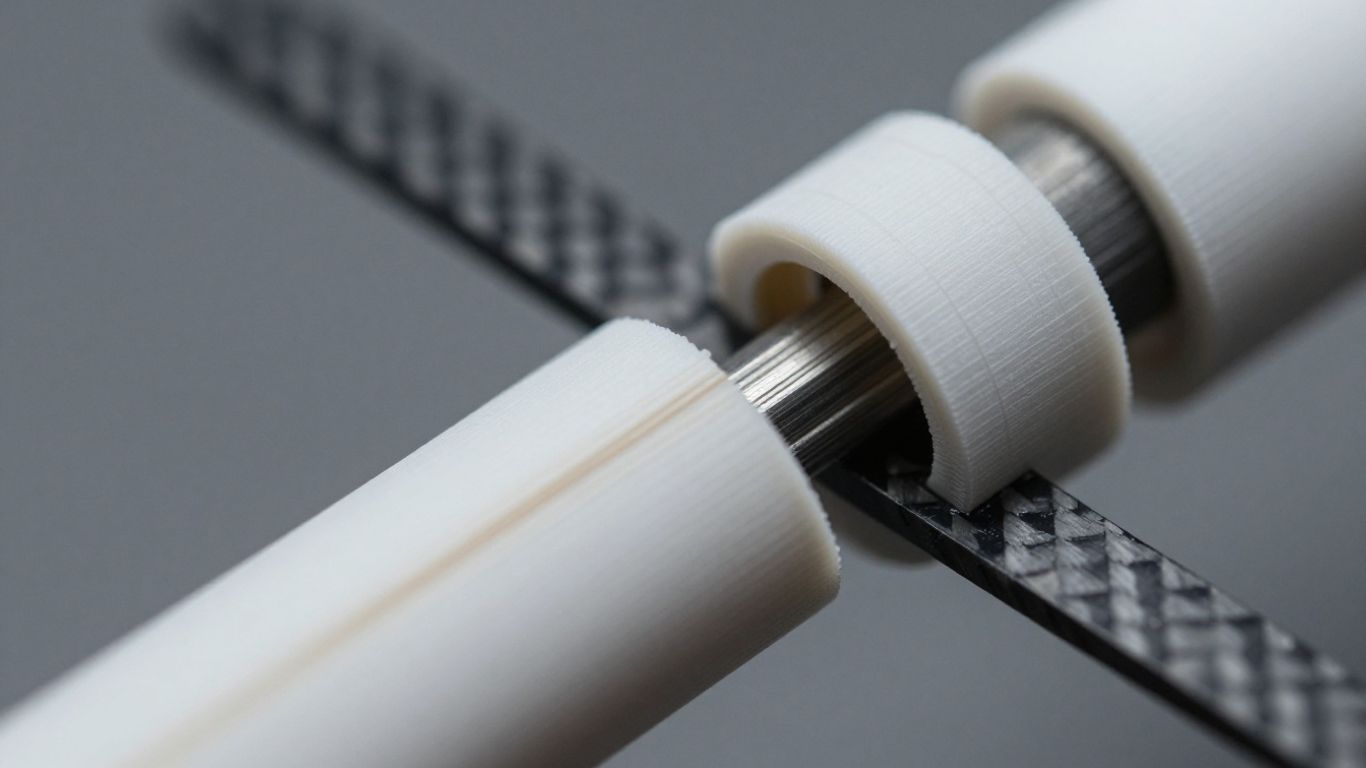
Assembling parts that have been printed as thin-walled shells requires patience and a steady hand. You are effectively building an eggshell-thin structure that needs to withstand significant air pressure, meaning every adhesive bond must be perfect. Creating a structurally sound airframe from these parts turns a pile of plastic into a machine that handles aggressive maneuvers with grace.
Managing heat and warping during the print process
Warping is the most frequent cause of failure for long prints, but maintaining a consistent chamber temperature helps prevent the differential cooling that leads to corners lifting. If you find your parts struggling to stay flat, consider adding a brim or using an enclosure to maintain heat consistency throughout the build. A stable environment during the print cycle leads to significantly higher success rates for complex, thin-walled geometries.
Structurally reinforcing critical load-bearing joints
Some areas of the airframe, such as wing roots and fuselage attachment points, face persistent stress that standard plastic walls might not survive. Adding small triangular gussets or strategic infill patches at these junctions dramatically increases the durability against crash forces. One common observation in the field is that reinforcing these points allows for a much longer lifespan for the aircraft.
The most resilient builds are those that favor internal skeletal strength over external cosmetic thickness, allowing the airframe to absorb energy during rough landings without permanent deformation.
When these structural enhancements are applied correctly, you decrease the frequency of major repairs and increase the overall joy of the flight experience.
Best practices for using cyanoacrylate adhesives on LW-PLA
Cyanoacrylate, or CA glue, is the primary bonding agent for LW-PLA, but it requires careful application to avoid melting the delicate surface of the prints. Because the material is porous, a little bit goes a long way, and applying a light bead along the joint is more effective than saturating the surface. Always test your adhesive on a test print first to ensure the bond strength matches your structural requirements.
Installing internal spars for fuselage rigidity
Spars are the backbone of your aircraft, providing the necessary longitudinal rigidity to prevent wing flutter at high speeds. Whether utilizing carbon fiber or reinforced dowels, you must ensure the channels are aligned precisely throughout the fuselage. This step gives the airframe the stiffness it needs to handle fast, banked turns without the structure flexing or distorting under aerodynamic load.
Tuning your Raptor for flight
Calibrating your machine after the build is finished is a vital step that many beginners overlook, yet it defines the difference between a flight and a plummet. Taking the time to verify every control throw ensures the airframe works in harmony with the flight controller long before the battery connects. Taking the time to dial in your settings minimizes the stress of the maiden flight and allows for immediate troubleshooting if needed.
Calibrating center of gravity for level flight characteristics
Your center of gravity, or CG, must be balanced precisely at the manufacturer’s suggested point to ensure stable flight dynamics. An aircraft that is tail-heavy will struggle for lift, while one that is nose-heavy will be difficult to flare during a landing. Use a standard CG balancer or high-precision scale to ensure the airframe is perfectly leveled before attempting any throttle input.
Implementing stabilization software for first-time pilots
Modern open-source software provides incredible tools for leveling your flight, making the learning curve much gentler for those new to fixed-wing RC. By enabling angle limits or horizon-leveling modes, you reduce the risk of pilot error during critical take-off and landing phases. These digital buffers allow you to focus on line-of-sight flying and basic maneuvers, building the required coordination before moving to manual flight modes.
Testing control surface throws and differential thrust
Every control surface should be tested for direction and throw distance to ensure that up is actually up and left is correctly banked. Differential thrust, if you have dual motors, should also be reviewed to ensure the system assists in yaw authority during low-speed maneuvers. Taking the extra minute to perform these checks ensures that your first few seconds in the sky don’t result in an unintended dive.
Performing maiden flight checks and adjustments
Your maiden flight serves as a test of your build accuracy and component reliability. Begin with short, low-speed flights in calm conditions to verify the trim and responsiveness before extending your flight time.
Maintenance and repair for 3D-printed airframes
Maintaining a 3D-printed plane is as much about proactive care as it is about fixing what breaks after a rough touchdown. If you fly often, you will eventually face structural damage, but the beauty of the design is that every part can be reprinted and integrated back into the frame. Staying on top of your maintenance plan keeps your aircraft ready for action and reduces the urgency of repairs.
Field repair strategies for minor landings and crashes
Having a quick-fix kit at the field is essential for managing minor mishaps that occur during testing. A small bottle of medium-viscosity CA glue and a pouch of kicker are usually enough to bridge small cracks and get you back in the air within minutes. Focusing on temporary structural stabilization allows you to keep flying and identify broader issues once you return to the workbench.
Patching structural fractures with compatible filament scraps
When a section of the fuselage or wing takes a larger hit, you need a robust solution that doesn’t add excessive weight. Using scraps of the same filament, you can create custom splints that provide immediate structural support while retaining the original look of the print. This method is far better than adding heavy tape, which can strip away during high-speed maneuvers.
Periodic safety inspections for high-stress airframe areas
Regularly inspect the motor mounts, control horns, and spar attachment joints after every ten flights. Over time, the vibrations from the propulsion system can create hairline cracks in the plastic that are difficult to spot casually. A simple visual and tactile check ensures that all hardware remains tight and that no structural fatigue has developed in the critical load-bearing zones.
Long-term storage tips to prevent material degradation
Storing your aircraft in a sun-shielded, room-temperature environment prevents the material from UV damage or warping due to extreme thermal shifts. Keeping it on a proper stand also prevents the landing gear or wing panels from bearing unnecessary weight, which can cause subtle shape changes over time. By preserving the integrity of the print, you ensure the Raptor stays responsive and stable for seasons to come.
Conclusion
Mastering the Raptor Titan Dynamics is an evolving challenge that rewards those who treat their build with precision and respect for aviation design. By focusing on smart weight management, sturdy assembly techniques, and consistent maintenance, you create an aircraft that is not only a joy to fly but a testament to your craft. Embrace the learning process, enjoy the time spent at the workbench, and keep pushing your own boundaries as you master the skies.
Frequently Asked Questions
Is it difficult to learn how to fly a 3D-printed plane?
The learning curve for these aircraft is similar to traditional RC foam planes, provided you utilize stabilization software during the first few flights. Starting in calm weather conditions and using a flight simulator will significantly improve your control coordination before your first physical launch.
How long does a typical 3D-printed airframe last?
Longevity depends heavily on how you handle your landings and store the craft between sessions. With proper care and minor repairs as needed, a well-built 3D-printed model can provide countless hours of flight time over several seasons.
Can I use standard PLA instead of lightweight filament?
Standard PLA is generally too dense and heavy for these specific designs, which are engineered for the specific buoyancy of lightweight filament. Using standard plastic will likely lead to a model that is too heavy to reach takeoff speed or stalls at low altitudes.
What should I do if a wing section gets crushed?
Small fractures can be easily glued with thin CA, while larger crushed sections may require you to reprint that specific modular component. The modular design of these aircraft makes replacing a damaged section simple and cost-effective compared to buying an entirely new plane.
How do I balance my propeller for smooth flight?
Propeller balancing is crucial for minimizing vibrations that can damage your electronics and cause structural fatigue over time. You can use a dedicated propeller balancer to remove tiny amounts of material until the prop sits perfectly level, ensuring smooth and efficient motor operation.
Does the flight controller matter for 3D-printed planes?
Yes, an effective flight controller provides the stabilization needed to keep a light airframe steady in gusty conditions. High-quality controllers offer sophisticated telemetry that helps you track your battery life and altitude, leading to safer flight operations.
How often should I check for structural fatigue?
Performing a visual inspection after every flight session is best practice to catch minor cracks or loose linkages before they become issues. Deep inspections of internal spars and glue joints should ideally occur after every ten to fifteen flight hours to ensure maximum component safety.