
Drone Flying 101: Your First Flight
So, you’ve got a drone and you’re itching to get it in the air. That’s cool! But before you send it zooming off, there are a few things you should know. Flying a drone isn’t quite like driving a car; it’s got its own set of rules and controls. This guide is all about getting you started safely and confidently. We’ll cover the basics of how to fly a drone, from understanding the controls to making your first flight a success.
Key Takeaways
- Get familiar with the three main controls: roll, pitch, and yaw, plus how the throttle affects lift.
- Always pick a safe, open area away from people and obstacles for your first flights.
- Do a quick check of your drone and the weather before you power up.
- Practice taking off, hovering at a low height, and landing smoothly.
- Start with simple flight patterns like squares and circles to build control.
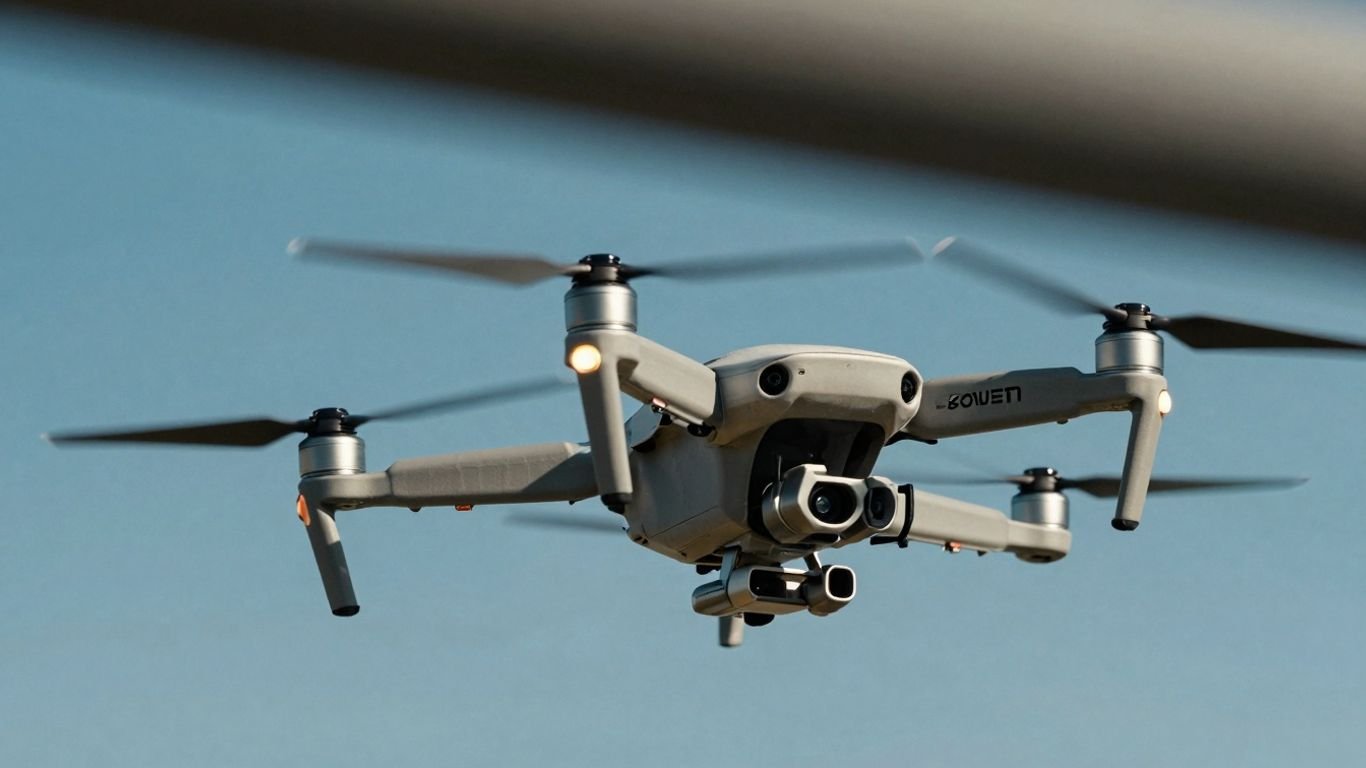
Understanding Drone Controls For Your First Flight
Getting your drone off the ground for the first time can feel a bit like learning to ride a bike, but with a few extra dimensions! Understanding the basic drone controls explained is your first step in this beginner drone flying tips journey. Think of it as learning the language of your drone. This first-time drone pilot guide will break down the core movements you’ll be using.
The Three Dimensions of Drone Flight: Roll, Pitch, and Yaw
Drones move in three primary ways, controlled by the sticks on your remote. It’s not just up and down; there’s a whole lot more going on!
- Roll: This is controlled by the right stick, moving it left or right. It makes the drone tilt and move sideways. Push the right stick left, and the drone moves left. Push it right, and it moves right. It’s like the drone is leaning into a turn.
- Pitch: Also controlled by the right stick, but this time moving it forward or backward. This tilts the drone’s nose up or down, making it move forward or backward. Push the stick forward, and the drone flies away from you. Pull it back, and it comes towards you.
- Yaw: This is handled by the left stick, moving it left or right. Yaw makes the drone rotate around its vertical axis, like a spinning top. This is super useful for pointing your camera in different directions or making smooth turns. It’s often used with other controls for more complex movements.
Mastering the Throttle for Lift and Descent
The throttle is your key to controlling the drone’s altitude. It’s usually the left stick, and moving it up increases power to the propellers, making the drone go up. Moving it down decreases power, causing it to descend.
The throttle is the most sensitive control when you’re just starting out, so use gentle movements.
Here’s a quick rundown:
- Ascent: Gently push the left stick (throttle) upwards. The drone will start to lift off the ground.
- Hover: Once you reach your desired height, ease the throttle stick back to the center. The drone should stay put.
- Descent: Slowly pull the left stick (throttle) downwards. The drone will begin to lower.
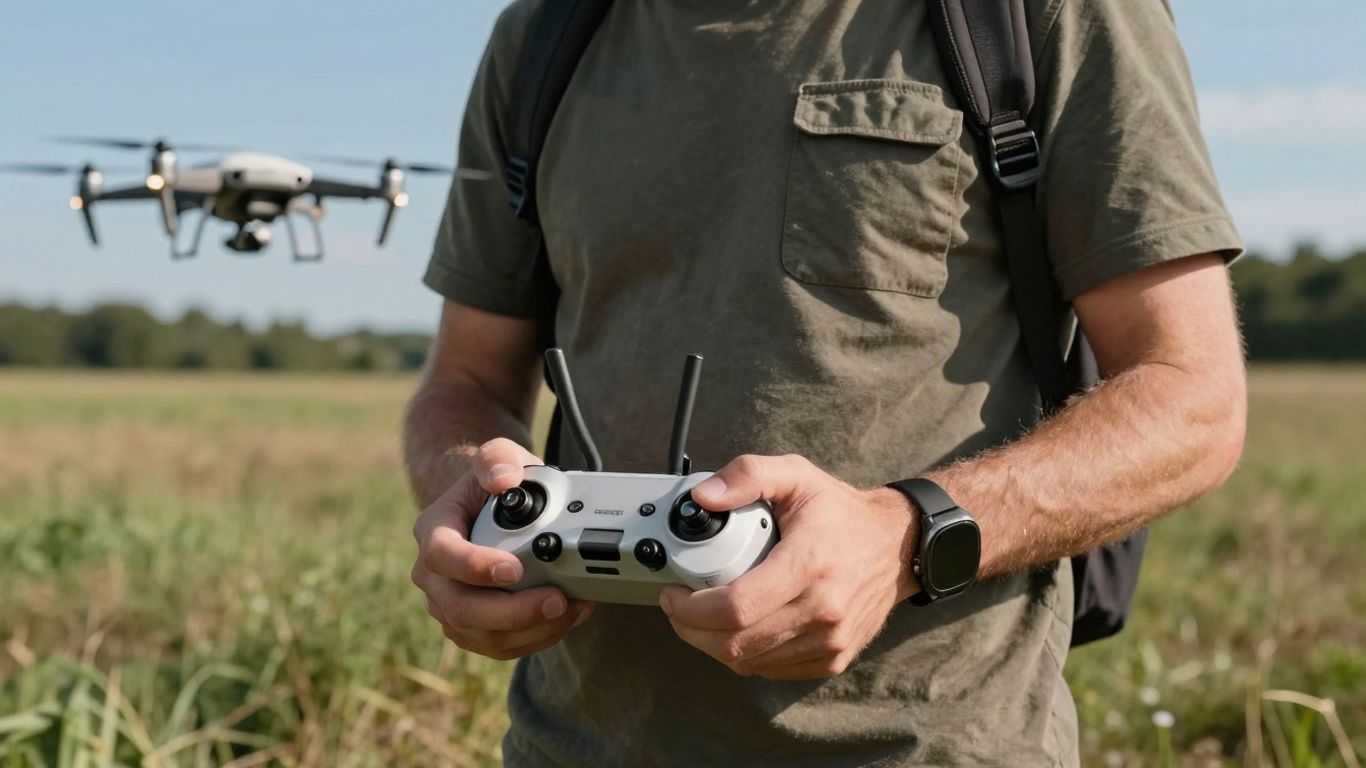
Understanding Control Stick Inputs
It’s important to remember that drone controls can sometimes feel inverted depending on the drone’s orientation relative to you. When the drone is facing away from you (camera pointing forward), the controls are usually intuitive. However, when the drone is facing towards you, the directions might feel reversed. Always be mindful of which way your drone is pointing. Getting comfortable with these basic drone controls explained is a big part of getting started with drone photography.
When you’re first learning, make small, deliberate stick movements. Don’t jam the sticks all the way to one side. Think of it like gently nudging your drone into position rather than forcing it. This will help you maintain control and avoid sudden, jerky movements that can be hard to recover from. You can find a great overview of drone controllers here.
Practice these movements in a safe, open area. You’ll find that with a little patience, these controls will start to feel natural, paving the way for more exciting flights and stunning aerial shots.
Preparing For Your First Flight
Alright, so you’ve got your drone, you’re itching to get it in the air, but hold on a sec. Before you just power it up and go, there are a few things you really need to sort out. Think of it like getting ready for a road trip – you wouldn’t just hop in the car without checking the gas or the tires, right? Flying a drone is kind of the same, maybe even more so because, well, gravity is a thing.
Choosing A Safe And Legal Flight Location
This is super important. You can’t just fly anywhere. First off, check the rules. Are you allowed to fly there? Some places, like national parks or near airports, are a big no-no. You’ll want to look up airspace restrictions. Websites and apps can help with this, showing you where it’s okay to fly and where you need special permission. Also, think about the actual spot. Is it open? Are there a lot of people or animals around? You want a wide-open space with no obstacles and no one else around for your very first flight.
Essential Pre-Flight Safety Checks
Before you even think about taking off, you gotta do a quick once-over of your drone and its gear. It’s not complicated, but it matters.
- Batteries: Make sure both your drone’s battery and your controller’s battery are fully charged. Seriously, don’t skip this. Pack spares if you have them.
- Firmware: Check if your drone and controller need any software updates. Sometimes flying with old software can cause weird issues.
- Physical Check: Look over the drone itself. Are the propellers on tight and not damaged? Is the body okay? No cracks or loose bits?
- Connectivity: Ensure your phone or tablet (if you’re using one for the controller screen) is connected to the controller and has a signal if you need it for anything.
Doing these checks might seem like a drag, but they’re what keep your drone from doing something unexpected mid-air. It’s better to spend five minutes checking than five hours trying to fix a crashed drone.
Understanding Weather Conditions For Safe Flight
Weather is a huge factor. You don’t want to fly in a storm, obviously. But even things like wind can make a big difference.
- Wind: Keep an eye on the wind speed. If it’s too windy, your drone can get pushed around, making it hard to control. For your first flight, aim for a calm day, ideally with winds under 10 mph.
- Rain/Snow: Don’t fly in precipitation. Water and electronics don’t mix well, and it’s just not safe.
- Visibility: Make sure you can see your drone clearly. If it’s foggy or hazy, it’s best to stay grounded.
Basically, if the weather looks iffy, just wait. There will be plenty of other days to fly.
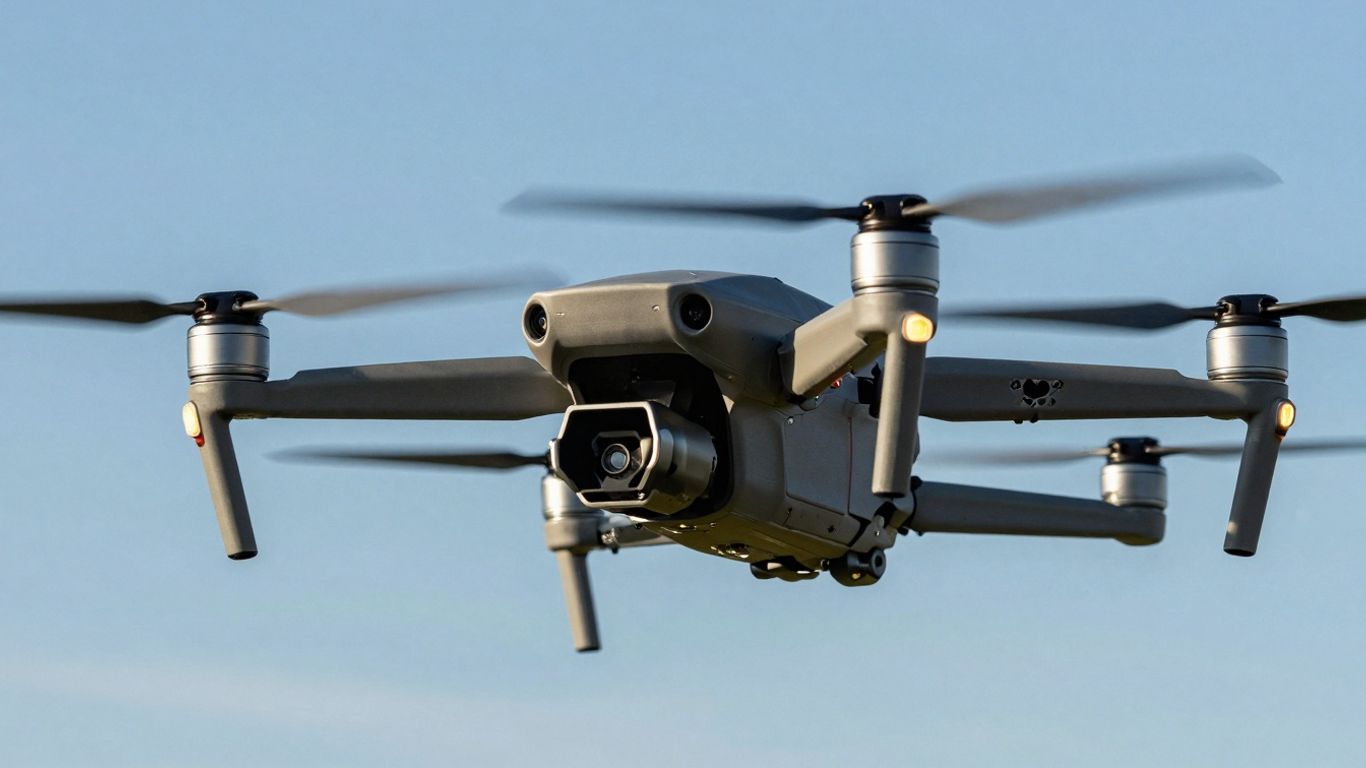
Getting Your Drone Off The Ground
Alright, you’ve got the controls down and you’ve picked a good spot. Now for the moment of truth: getting your drone airborne. It’s not as complicated as it might seem, and it all comes down to one primary control: the throttle.
Safely Powering Up Your Drone
Before you even think about lifting off, a quick power-up sequence is a good idea. It helps you check that everything’s talking to each other correctly. First, turn on your remote controller. Then, power up your drone. You should see some lights and hear some sounds indicating it’s ready. Make sure the connection between the controller and the drone is solid – usually, there’s a confirmation on your screen or the controller itself. It’s also a good time to check that your drone has a good GPS signal, if it has that feature. This helps it know where it is in the world.
Initiating Takeoff With The Throttle
This is where the throttle, typically the left stick on most controllers, comes into play. You’re going to use it to control the drone’s altitude. Start by pushing the throttle stick up just a tiny bit. You want to get the propellers spinning, but not enough to lift off yet. Do this a few times, getting a feel for how sensitive the throttle is. It’s like gently nudging a gas pedal. The goal is to get the drone just high enough to clear the ground, about a foot or so.
Initial Ascent To Eye-Level Altitude
Once you’re comfortable with the initial spin-up, it’s time for the actual takeoff. Slowly and steadily push the throttle stick further up. Watch as your drone begins to rise. Keep it steady until it’s about eye-level, maybe 5 to 10 feet off the ground. Hold it there for a few seconds. This is your first real hover. While it’s up there, take a moment to look and listen.
Does anything seem off? Are there any weird noises? Is the drone drifting unexpectedly? This brief pause is your chance to catch any minor issues before you go further. If everything looks good, you’ve successfully gotten your drone off the ground! You can find more tips on starting your drone journey at DronesxLex’s beginner course.
Remember, patience is key here. Don’t rush the process. Small, controlled movements with the throttle will get you airborne smoothly and safely. It’s better to take a little longer and do it right than to try and speed through it and risk a mishap.
Mastering Basic Drone Maneuvers
Now that you’ve got the hang of the controls and know how to get your drone airborne, it’s time to really learn to operate a drone by practicing some fundamental movements. This section is all about building confidence and control. Think of it like learning to walk before you can run – or, in this case, fly.
Achieving A Stable Hover In Mid-Air
Hovering is the first big step to feeling truly in control. It means keeping your drone perfectly still in one spot in the air. To do this, you’ll use the throttle (left stick up/down) to get your drone about a foot or so off the ground. From there, it’s all about tiny, precise adjustments with the right stick to keep it from drifting. You might also need to nudge the left stick (yaw) a bit if it starts to turn. It takes practice, but a steady hover is the foundation for all other maneuvers.
Smoothly Landing Your Drone
Landing can be a bit nerve-wracking at first, but it’s just the reverse of taking off. Once you’re comfortable hovering, bring your drone down slowly using the throttle. As it gets close to the ground, maybe an inch or two away, cut the throttle completely and let it settle. Don’t worry if it’s not perfect every time; just keep practicing until you can bring it down gently without any bumps.
Practicing Forward, Backward, and Sideways Flight
With hovering down, you can start moving. Keep the throttle steady to maintain altitude. Then, use the right stick to push the drone forward a few feet, return to center, pull it back, return to center, move it left, return to center, and then move it right, returning to center. If the drone starts to spin, use the left stick to correct its direction. This helps you get a feel for how each control affects movement in different directions. You can find some great tips on basic drone maneuvers to help you practice these movements.
Getting comfortable with these basic movements is key. Don’t rush the process. Spend time practicing each one until it feels natural. This builds muscle memory and makes flying much more enjoyable.
Practicing Flight Patterns
Alright, you’ve gotten your drone off the ground and can hover steadily. That’s a huge step! Now, it’s time to move beyond just staying in one spot and start making your drone move with purpose. Practicing flight patterns is the next logical step to really get a feel for how your drone handles and how to control it smoothly. It’s all about combining those basic stick movements into more complex actions.
How to Fly a Drone in a Square Pattern
Flying in a square is a great way to practice coordinating your controls. You’ll be using the pitch and roll functions together. The key here is to keep the drone facing the same direction throughout the pattern. Imagine you’re drawing a square in the air.
Here’s a simple breakdown:
- Start Hovering: Get your drone to a stable hover at a comfortable altitude, maybe around eye-level.
- Forward: Gently push the right stick forward (pitch) to move the drone forward a few feet. Then, bring the stick back to center to stop.
- Right: Now, push the right stick to the right (roll) to move the drone sideways a few feet. Center the stick again.
- Backward: Pull the right stick backward (pitch) to move the drone backward a few feet. Center it.
- Left: Finally, push the right stick to the left (roll) to bring the drone back to its starting position. Center it.
The goal is to make each leg of the square smooth and to return to your starting point without much drifting. You might notice the drone dips a bit when you move; you’ll learn to compensate with the throttle as you get more practice. Keep repeating this until it feels natural. This is a good exercise to get comfortable with basic drone flight planning.
How to Fly a Drone in a Circle
Once you’ve got the square down, let’s try a circle. This pattern really hones your ability to use multiple controls at once. You’ll be combining pitch, roll, and sometimes a bit of yaw and throttle to keep things smooth.
To fly a circle, you’ll typically keep the drone facing away from you. You’ll push the right stick diagonally forward and to the right (or left, depending on your direction). As the drone moves, you’ll adjust the stick’s position to maintain the circular path. It’s like gently guiding the drone around an invisible hoop.
Flying in circles requires a delicate touch. You’re not just pushing the stick; you’re making small, continuous adjustments. Think of it like steering a car on a winding road – you’re constantly making minor corrections to stay on course. Don’t get discouraged if your first few circles are wobbly; that’s totally normal.
Advanced Flight Patterns For Skill Development
After you’ve mastered squares and circles, you can try more complex patterns to really push your skills. Think about flying a figure-eight, which involves transitioning smoothly from forward flight to a turn and back. You can also practice banked turns, where the drone tilts into the turn, similar to how an airplane flies. These advanced maneuvers require precise control and a good feel for how your drone responds. You can even use ground markers or practice with simulated flight environments to challenge yourself further. The more you practice these varied patterns, the more confident and capable you’ll become as a pilot.
Ensuring Safe Drone Operations
Alright, you’ve gotten the hang of the basics, which is awesome! But before you go off doing any fancy aerial acrobatics, let’s talk about keeping things safe. Flying a drone isn’t just about having fun; it’s about being responsible. Following proper safety protocols means you protect your gear, yourself, and everyone around you.
Drone Safety Protocols For Beginners
When you’re just starting out, it’s easy to get a little too excited and forget the important stuff. Here are some key things to keep in mind:
- Know Your Drone: Read the manual. Seriously. Every drone is a bit different, and knowing its limits and features is step one.
- Visual Checks: Before every flight, give your drone a good once-over. Check the propellers for cracks, make sure the battery is seated properly, and that there’s nothing obviously wrong.
- Battery Management: Always fly with fully charged batteries, and if you’re going for a longer session, bring spares. Don’t push your luck with a low battery warning.
- Propeller Awareness: Keep your fingers and anything else you value well away from spinning propellers. They can do some real damage.
- Fly Sober: Never operate a drone if you’ve been drinking or are under the influence of anything that impairs judgment. Your reaction time needs to be sharp.
Emergency Procedures During Flight
Sometimes, things don’t go as planned. Knowing what to do in a pinch can save your drone and prevent accidents.
- Loss of Control: If the drone starts acting erratically or you lose connection, try to remain calm. If possible, cut the throttle to zero. This often stops the drone in its tracks, preventing it from flying away or crashing harder.
- Obstacle Avoidance: If you see an imminent crash, the same throttle-down maneuver is your best bet. It’s better to have a damaged drone than to hit someone or something valuable.
- Low Battery: If your battery gets critically low unexpectedly, try to land as soon as it’s safe to do so. Don’t try to push it to get back to your exact starting point if it means flying over people or obstacles.
It’s a good idea to practice these emergency procedures in a safe, open area. Understanding how your drone reacts when you cut the power or make sudden stick movements can build confidence for real-world situations. Remember, a little practice now can prevent a big headache later.
Post-Flight Checks And Maintenance
Your flight might be over, but your job isn’t quite done yet. A few minutes after landing can make a big difference for your drone’s longevity.
- Battery Care: Remove the battery from the drone after landing. Don’t leave it in there, especially if you won’t be flying again for a while. Store batteries at the recommended charge level.
- Inspect Again: Give the drone another quick look-over. Did anything get damaged during the flight that you didn’t notice before? Check for any dirt or debris that might have gotten stuck.
- Clean Up: Wipe down the drone, especially the camera lens, with a microfiber cloth. Keep it clean, and it will perform better.
- Firmware Updates: Check if there are any new firmware updates available for your drone or controller. Keeping the software up-to-date often includes performance improvements and bug fixes. You can usually find this information on the manufacturer’s website, like checking for FAA drone certification requirements.
- Log Your Flights: For more serious pilots, keeping a log of flight times, conditions, and any issues can be helpful for tracking maintenance and performance over time.
Ready for Takeoff!
So, you’ve made it through the basics of getting your drone off the ground and keeping it in the air. It might feel a little weird at first, like patting your head and rubbing your stomach, but with a bit of practice, it’ll start to feel natural. Remember to always check the weather, pick a good spot, and keep those safety rules in mind. Don’t get discouraged if you have a wobbly landing or two – everyone does when they’re starting out. Just keep at it, and soon you’ll be flying like you’ve been doing it for ages. Happy flying!
Frequently Asked Questions
What are the basic controls for flying a drone?
Think of drone controls like steering a car, but in the air! You have controls for moving up and down (throttle), moving forward and backward (pitch), moving left and right (roll), and turning left and right (yaw). It takes a little practice to get used to all of them at once, but it’s like learning to ride a bike – you’ll get the hang of it!
Where is the best place to fly my drone for the first time?
For your very first flight, find a big, open area with lots of space, like a park or a big field. It’s best to fly over grass so that if your drone lands a bit rough, it has a soft cushion. Make sure there aren’t many people or animals around, and try to pick a day with little to no wind.
What safety checks should I do before flying?
Before you take off, always do a quick check. Make sure your drone’s propellers are secure and that the battery is charged. Look around your flying area for any obstacles like trees or power lines. It’s also smart to check the weather – avoid flying if it’s too windy or rainy.
How do I safely get my drone off the ground?
To lift off, you’ll use the throttle control. Gently push it up bit by bit until the drone just starts to lift off the ground. Once it’s a few feet in the air, try to keep it steady. This is called hovering, and it’s a key skill to practice before trying to move around.
What should I do if my drone starts to crash?
If you see your drone heading for trouble, like about to hit something, the best thing to do is quickly lower the throttle to zero. This will make the propellers stop spinning, which can help prevent damage to your drone and keep people or yourself safe.
How can I get better at flying my drone?
Practice makes perfect! Start by mastering how to hover in one spot. Then, try flying in simple shapes like squares and circles. As you get more comfortable, you can try flying at different heights and practicing more complex maneuvers. Watching videos and following guides can also help you learn new tricks.