
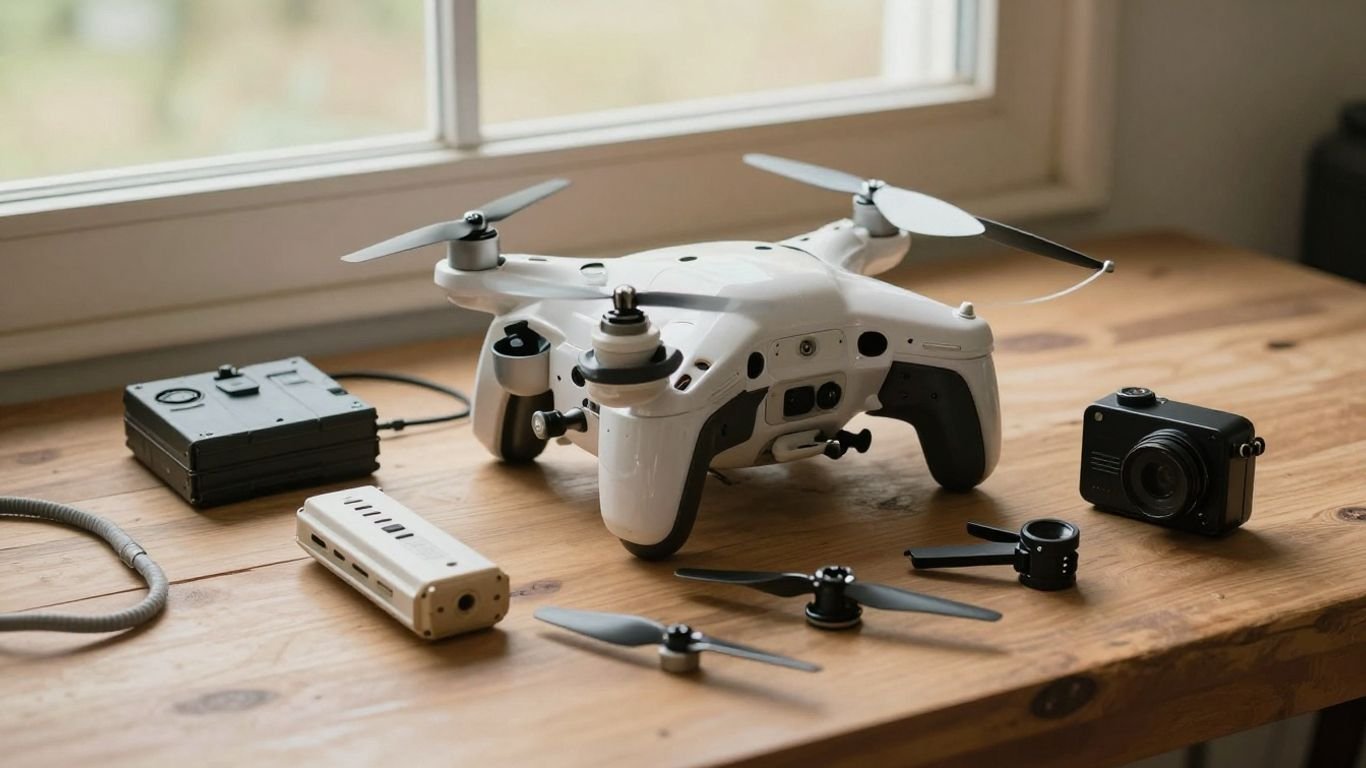
DJI Phantom 2: The complete guide to setup, flying, camera use, and maintenance

Key Takeaways
The DJI Phantom 2 is old enough to reward patience, careful inspection, and realistic expectations. A safe setup matters more than chasing every available upgrade.
- Identify the exact Phantom 2 version before buying parts or accessories.
- Charge, inspect, calibrate, and test the aircraft before the first flight.
- Practice basic hovering and landing in a wide, open area.
- Treat camera stability as a combination of balance, technique, and maintenance.
- Retire batteries and airframes that show unsafe damage or unreliable behavior.
Understanding the DJI Phantom 2 lineup
The Phantom 2 family includes aircraft with different camera arrangements, controllers, and accessory requirements. Used listings often mix model names, so photographs alone are not always enough to identify a complete setup. Start with the aircraft label, camera mount, controller, and battery compartment before deciding what you are buying.
DJI Phantom 2 vs. Phantom 2 Vision
The standard DJI Phantom 2 is commonly treated as the aircraft platform, while the Vision version is built around an integrated camera and related viewing equipment. That difference affects the way you plan shots, check connections, and replace damaged components. If a listing says only “Phantom 2,” ask whether it includes a camera, gimbal, or camera-ready accessories.
A used aircraft may also arrive with a controller from another bundle. Compare every included item with the correct manual rather than assuming that all Phantom 2 parts operate as one interchangeable system.
Phantom 2 Vision+ features and differences
The Phantom 2 Vision+ is a distinct camera-equipped version, and its camera system changes both the setup routine and the way footage is monitored. Check the gimbal area for cracks, loose fasteners, and signs of a previous hard landing before powering it up.
The camera and aircraft should be assessed together. A clean-looking shell cannot make up for a damaged mount, while a small cosmetic mark may be harmless if the frame, motors, and wiring remain sound.
Choosing the right battery, controller, and accessories
Match the battery to the exact aircraft version and inspect its casing before charging. The controller should have intact sticks, switches, aerials, and battery contacts; accessories such as propellers, chargers, and camera mounts should be treated as model-specific until confirmed otherwise.
For a broader sense of how older aircraft reward conservative inspection, this DJI Phantom 1 guide offers a useful adjacent reference. The lesson applies here too: a complete-looking bundle is not necessarily a flight-ready one.
Checking compatibility before buying used equipment
Ask the seller for clear photographs of the aircraft label, battery, controller, charger, propellers, and camera connection. Confirm that the firmware family, plug type, and physical mounting points match before sending payment. When documentation is missing, price the item as a repair project rather than as a ready-to-fly package.
A simple compatibility table can prevent an expensive mismatch:
| Item | What to verify | Common concern |
|---|---|---|
| Battery | Model marking and casing | Swelling or unknown age |
| Controller | Switches, sticks, and aerials | Incomplete or mismatched unit |
| Propellers | Size, direction, and condition | Mixed or cracked set |
| Camera mount | Physical fit and wiring | Gimbal damage |
The table is only a starting point. Before buying, request a power-on video and ask whether the aircraft has been stored for a long period.
Setting up your DJI Phantom 2
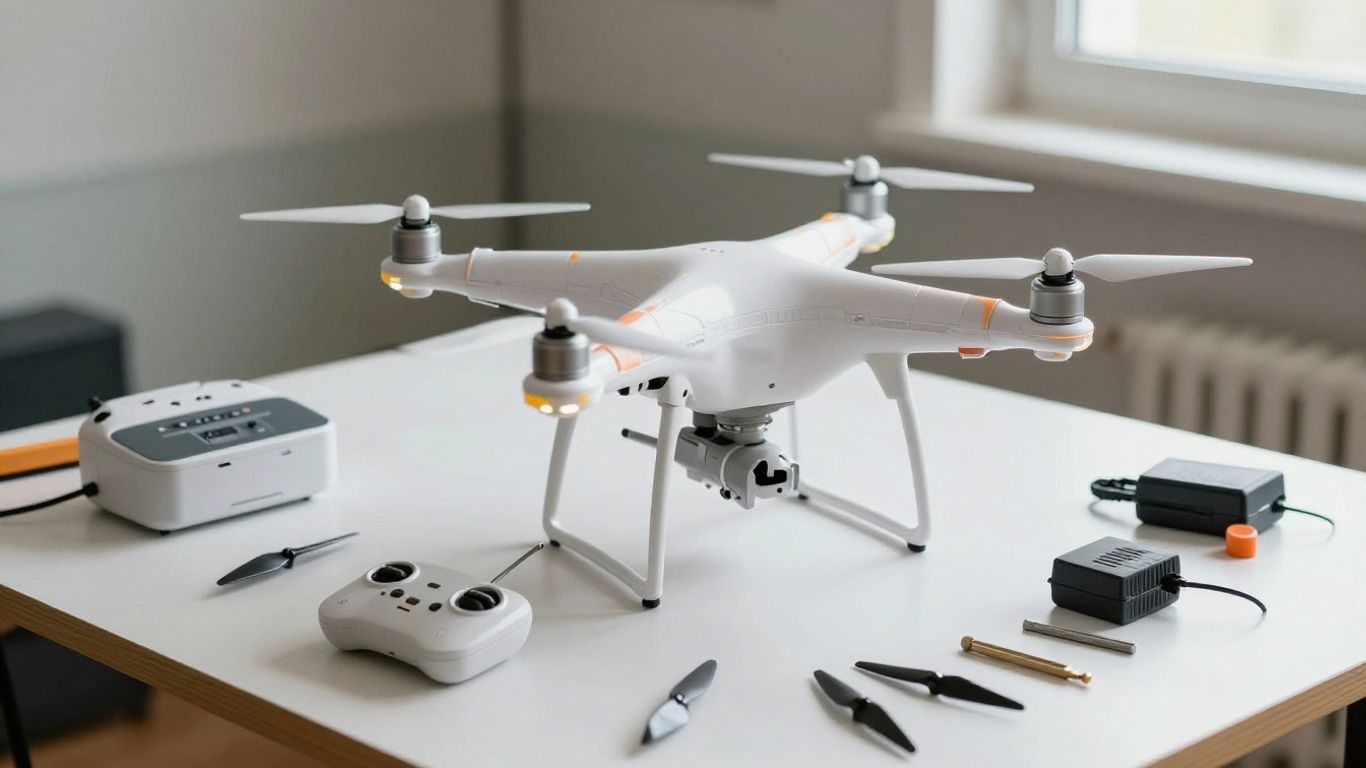
Setup should be slow and methodical, especially when the aircraft is several years old. Work on a clear bench, keep the propellers away from people, and use the manuals for the exact version rather than relying on a similar-looking model. The goal of the first session is not flight; it is discovering problems while the aircraft is still on the ground.
Inspecting the aircraft and included components
Look over the shell, arms, landing gear, motor mounts, battery bay, and connectors. Gently move each motor by hand and note grinding, excessive play, or resistance. Check that the controller, charger, battery, propellers, and any camera equipment are present and undamaged.
Dust in a seam is usually less concerning than a split arm or crushed landing gear. Photograph the condition before making changes, particularly if the aircraft came from a private seller.
Charging the battery and remote controller
Use the correct charger on a nonflammable surface and remain nearby while an older battery charges. Stop immediately if the pack becomes unusually hot, swells, leaks, or smells abnormal. The remote controller deserves the same attention: inspect its cable and contacts, then confirm that its indicators behave normally.
Do not try to revive a battery that looks physically compromised. A replacement is cheaper than damage caused by a failing pack.
Installing propellers and balancing the aircraft
Propellers must be installed on the correct motors and tightened securely without being forced. Inspect each blade under good light for nicks, bends, whitening, or hairline cracks. Even a small defect can create vibration that affects flight and camera footage.
Before flight, place the aircraft on a level surface and check whether the landing gear sits evenly. If the frame rocks or one arm appears twisted, stop and investigate instead of compensating with control inputs.
Updating firmware with DJI software
Use the official Phantom 2 downloads page for manuals, software, and firmware information. Record the current versions before changing anything, and keep the battery charged during an update. A cable being disturbed halfway through the process can leave an older aircraft in a confusing state.
After updating, restart the aircraft and controller, then check the connection before attaching a camera. Firmware work should be a controlled maintenance step, not something repeated simply because an old machine feels unfamiliar.
Calibrating the compass and IMU
Perform calibration outdoors and away from cars, reinforced concrete, speakers, tools, and other metal objects. Follow the on-screen or manual sequence carefully, keeping the aircraft level when the procedure calls for it. If a warning persists, move to a cleaner location and inspect the compass area for physical damage.
Calibration is not a cure for every flight problem. A damaged sensor, loose frame, or failing battery needs a different diagnosis.
Learning to fly the DJI Phantom 2 safely
An older quadcopter can still be pleasant to fly, but it gives the pilot less room for casual mistakes than newer systems. Start with a large open field, mild weather, and a charged controller. Keep the first flights short so you can notice patterns in drift, battery behavior, and GPS acquisition.
Understanding the remote controller and flight modes
Learn the four basic inputs before takeoff: throttle changes height, yaw rotates the aircraft, and the other two controls move it laterally and forward or backward. Identify the flight-mode switch and understand what happens if GPS assistance is reduced or lost. Practice reading the aircraft’s orientation rather than relying only on its camera.
Use small, deliberate stick movements. Large corrections often create a second problem before the first one has settled.
Completing a preflight checklist
A repeatable checklist is more useful than memory, especially after transport. Before arming, walk through these checks:
- Battery seated firmly and showing normal condition.
- Propellers correct, tight, clean, and free of cracks.
- Controller connected with adequate power.
- Compass and GPS status checked in a clear area.
- Takeoff and landing zone clear of people, animals, wires, and loose debris.
After the checklist, pause for a moment and look at the actual environment. Wind, nearby metal structures, and changing light can matter as much as the aircraft settings.
Practicing takeoff, hovering, and landing
Lift only a short distance at first, then hold a steady hover while watching the aircraft’s position and attitude. Practice gentle yaw, forward movement, and lateral movement one at a time. For landing, reduce height gradually and keep the aircraft level until it is firmly on the ground.
If it begins to drift, do not immediately chase it with aggressive inputs. Ease off, assess the wind, and land if the behavior continues.
Managing GPS signal and return-to-home behavior
Give the aircraft time to establish a reliable GPS position before relying on assisted flight. Know the recorded home point, the return-to-home height, and the direction of the launch area. Return-to-home is a useful safety function, but it does not remove the need to maintain visual awareness and avoid obstacles.
A lost signal, low battery, or poor GPS condition should prompt a conservative decision. Bring the aircraft back while control remains predictable rather than waiting for an automatic response.
Following local drone safety rules
Rules vary by location and can change, so check the applicable aviation authority before flying. Follow requirements for registration, airspace, privacy, visual line of sight, and operations near people or property. Also ask permission where landowners or event organizers control access.
A beginner-friendly drone safety checklist can help turn broad rules into practical preflight habits. Local regulations remain the final authority, however.
Using the DJI Phantom 2 camera
Camera work begins with a stable aircraft, not a clever setting. Keep the lens clean, avoid sudden control movements, and plan the shot before takeoff. Older camera systems can produce enjoyable results when the pilot accepts their limits and gives them favorable light.
Choosing between the built-in and external camera options
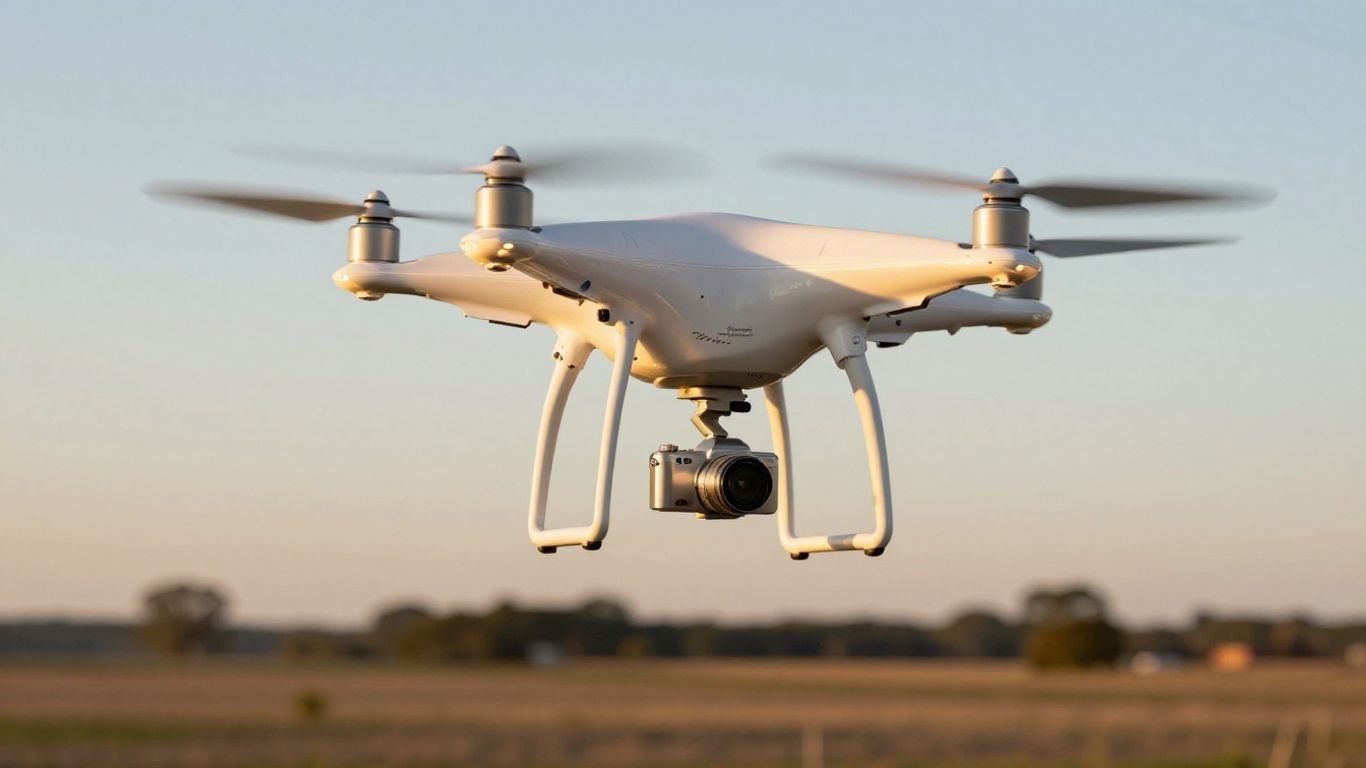
Some Phantom 2 configurations use an integrated camera, while others are prepared for an external camera and mount. Confirm which arrangement your aircraft supports before buying a replacement or assuming a camera will connect directly. The weight and balance of an external setup can also affect handling.
Treat the camera, cable, mount, and aircraft as one system during inspection. A compatible camera is not useful if the mount is loose or the cable is damaged.
Adjusting camera angle and image settings
Set the camera angle on the ground where possible, then make only small adjustments in flight. Choose a resolution and frame rate that suit the final use rather than filling the memory card with settings you do not need. Lock exposure or white balance when changing light would otherwise cause distracting shifts.
Keep the horizon in mind while composing. Slow, level movements usually look more natural than rapid turns.
Capturing still photos and smooth video
Plan a simple route with a clear beginning and end. Start recording before the main movement, fly at a steady pace, and leave a few seconds of extra footage on each side of the shot. For stills, hold the aircraft steady and avoid pressing controls during the exposure.
The Phantom 2 Vision review provides useful historical context for the camera-equipped version, including the kind of still and video workflow owners often expected from it. Use such references to set expectations, not to assume every used unit performs identically.
Reducing vibration and improving image quality
Vibration commonly comes from damaged propellers, loose mounts, bent hardware, or motors that do not run smoothly. Replace questionable propellers as a matched set where appropriate and check that the camera mount is secure without being pinched. A calm day and gradual control inputs can make as much difference as post-processing.
Small mechanical checks matter when footage looks soft or wobbly. Inspect the aircraft before blaming the camera.
Managing memory cards and battery runtime
Format a compatible memory card in the camera or according to the manual, and transfer files before the card becomes full. Begin each flight with enough battery reserve to return and land safely; recording time should never determine when you land.
Keep a simple note of flight duration, weather, payload, and battery behavior. That record makes gradual battery decline easier to spot.
Troubleshooting common DJI Phantom 2 problems
Troubleshooting is easiest when one variable changes at a time. Write down the warning, battery state, weather, calibration history, and what happened immediately beforehand. Avoid repeated takeoffs when the aircraft is behaving unpredictably.
Fixing compass, GPS, and calibration warnings
Move away from metal, vehicles, concrete reinforcement, and electrical equipment, then restart the aircraft and controller in the proper order. Recalibrate only when the environment is suitable and the manual calls for it. If the warning returns in several clean locations, stop flying until the sensor and wiring have been inspected.
A warning that appears after a crash deserves more caution than one caused by a poor calibration location.
Diagnosing drifting, instability, and hard landings
First check propeller condition, motor movement, landing gear, and frame alignment. Wind can make a stable hover look worse, but persistent drift in calm conditions suggests a calibration, sensor, or mechanical issue. After a hard landing, inspect every arm and motor mount before the next battery is installed.
Do not use aggressive stick inputs to hide a mechanical fault. The aircraft may lift off while still being unsafe.
Resolving connection and video-feed issues
Check controller power, antenna position, cables, camera power, and the condition of the memory card. Restart both ends of the connection and test in an area with fewer sources of interference. If the aircraft controls normally but the camera feed fails, separate the flight-control diagnosis from the camera diagnosis.
The official download and manual material is a better starting point than random firmware files or unofficial modification instructions.
Handling battery, charging, and power problems
A battery that will not charge, drops voltage quickly, swells, or becomes hot should be removed from service. Check the charger and contacts without forcing them, and test only with a known-good, compatible setup. Intermittent power can cause a range of misleading symptoms, so resolve it before investigating software.
Store suspect batteries away from living areas and follow local disposal guidance. Never place a damaged lithium battery in ordinary household trash.
Knowing when professional repairs are necessary
Seek qualified repair help when the frame is cracked, a motor grinds, wiring is exposed, calibration repeatedly fails, or power cuts out in flight. Share photographs, warning messages, and the aircraft’s history with the technician. A clear diagnosis is more valuable than replacing several unrelated parts.
Used-equipment research often crosses fields, but the habit is the same: verify the part and the specialist before paying. Even searches for Kia spare parts, privacy policy details, UAE business setup, trading course information, or a cochlear implant surgeon benefit from checking provenance rather than trusting a vague listing.
Maintaining and upgrading an older DJI Phantom 2
Maintenance is mostly prevention. Keep a record of flights, battery age, repairs, firmware versions, and parts replaced. Older equipment can remain useful when it is treated as a machine that needs inspection, not as a sealed appliance that can be ignored between flights.
Storing the drone and batteries safely
Remove the battery from the aircraft after use and store the drone clean, dry, and protected from heat. Batteries should be stored according to the manufacturer’s guidance, away from direct sunlight and flammable materials. Do not leave a charged pack sitting in a hot vehicle or attached to the aircraft for weeks.
Before long storage, inspect the battery again. Age-related swelling can appear even when the last flight seemed normal.
Inspecting motors, propellers, and landing gear
Spin motors gently by hand and listen for roughness or scraping. Examine propeller hubs and edges, then check landing gear for cracks and looseness. Look closely at the arm-to-shell joints, because a small split can grow under repeated vibration.
Cleaning should be gentle. Compressed air and a soft brush are preferable to pushing grit deeper into a motor or connector.
Replacing worn or damaged components
Replace parts by exact model compatibility, not by appearance. Propellers, batteries, chargers, camera mounts, and controllers can look similar while using different specifications. After any replacement, perform a ground test, calibration check, and short low hover before attempting a normal flight.
Make one change at a time and keep the old part until the repair is confirmed. That makes it easier to identify what solved the problem.
Finding manuals, firmware, and compatible parts
Start with the manufacturer’s download material, archived manuals, and reputable specialist communities. Save copies of the documents that match your aircraft version, since old support pages can move or disappear. Avoid firmware or parts with no clear model reference.
The broader drone history guide is useful for understanding where the Phantom family sits, while the official download page remains the practical source for model-specific documentation.
Deciding whether to repair or replace the drone
Compare the airframe condition, battery cost, controller availability, camera needs, and likely repair labor. A cheap damaged aircraft can become expensive once several uncertain components are added. Conversely, a clean spare-parts machine may make sense for an owner who already has compatible equipment.
Set a spending limit before buying parts. If the aircraft has repeated power failures, structural damage, or unreliable flight behavior, retiring it is the responsible choice.
Conclusion
The DJI Phantom 2 is best approached with patience: identify the version, verify compatibility, prepare it carefully, and fly within both the machine’s limits and local rules. Good records and conservative maintenance can make an older aircraft enjoyable, while an honest inspection will tell you when it is time to stop repairing.
Frequently Asked Questions
Is an older drone still suitable for learning?
It can be, provided the aircraft is mechanically sound, the controls are reliable, and the pilot practices in a clear legal area. Older equipment requires more hands-on checking before each flight.
What should be checked before buying a used drone?
Confirm the exact model, battery condition, controller, charger, propellers, camera equipment, firmware information, and evidence that the aircraft powers on and responds normally.
How can vibration in aerial footage be reduced?
Inspect propellers, motors, mounts, landing gear, and the frame. Use smooth control inputs, avoid strong wind, and replace damaged or poorly balanced components before changing camera settings.
When should a battery be retired?
Retire it if it is swollen, cracked, leaking, unusually hot, unable to hold charge, or showing severe runtime loss. Do not continue testing a physically damaged lithium battery.
Why might a drone drift during a hover?
Wind, poor calibration, a damaged propeller, uneven motors, sensor problems, or a bent frame can all contribute. Test methodically and land if the behavior persists.
Is return-to-home a substitute for piloting?
No. It is a backup function, not a replacement for visual awareness, a clear route, a suitable home point, and enough battery to land safely.
What is the safest way to store an older aircraft?
Keep the aircraft clean and dry, remove the battery, protect it from heat and moisture, and store batteries according to their charging and storage guidance. Inspect everything again before the next flight.