
RTK Drone Mapping: The Easy Guide
Drones aren’t just for taking cool aerial shots anymore. They’ve become serious tools for mapping, and it’s actually getting pretty straightforward to use them for this. Think about mapping land, checking on construction sites, or even looking at farms. What used to take ages with old methods can now be done way faster with a drone. This guide will walk you through the basics of RTK drone mapping explained, so you can understand how it works and what you need to get started. We’ll cover the gear, the process, and how to get accurate results.
Key Takeaways
- RTK drone mapping uses GPS corrections in real-time to get centimeter-level accuracy for your data.
- You’ll need an RTK-enabled drone, a base station, and possibly a rover unit for collecting ground points.
- The process involves setting up your base station, planning the flight, flying the drone, and then processing the images.
- Using ground control points (GCPs) and checkpoints helps make sure your map is accurate and tied to the real world.
- Once processed, the data can be used to create maps and 3D models for various projects.
Understanding RTK Drone Mapping Explained
What is RTK Drone Mapping?
RTK drone mapping uses GPS location correction in real time, connecting a drone to a base station or a local network. This setup pushes the drone surveying accuracy far beyond what regular drones can achieve because RTK (short for Real-Time Kinematic) sends correction data as the drone is flying. As a result, every photo your drone captures is tied to a highly precise location. RTK GPS for drones works by comparing GNSS data the drone receives with a stationary reference point, called a base station, which is set up over a known position nearby. The base sends correction signals to the drone within seconds, meaning you don’t just know approximately where your drone was—it’s accurate down to a few centimeters.
This level of positional accuracy lets you generate maps and models that you can trust for measuring, planning, or inspecting.
If you’re using drones for mapping and want data that stands up to close inspection, RTK is the technology making it possible. It’s not just about getting a picture from above—it’s about understanding drone positioning with precision.
To learn a bit more about how RTK compares to similar tech, you may find it helpful to look into the comparison of PPK and RTK systems as used in mapping drones (drone survey accuracy is crucial).
Key Terminology in Drone Mapping
You’ll hear a handful of specific terms when digging into the world of RTK drones. Let’s break down a few of the most common:
- RTK (Real-Time Kinematic): A GPS-based technology that delivers instant correction data for precise drone positioning.
- Base Station: A GNSS receiver set on a known, fixed position to supply correction signals to the drone.
- Rover: The moving GNSS receiver, usually the drone (and sometimes a handheld device for checking GCPs).
- Ground Control Points (GCPs): Clearly marked spots on the ground with known coordinates used to fine-tune and check your map accuracy.
- Checkpoints: Extra marked spots, separate from GCPs, used only for double-checking the accuracy of your mapping results.
- Orthomosaic Map: A seamless, distortion-free map stitched from overlapping drone photos.
Here’s a quick table to reference these terms:
| Term | Function |
|---|---|
| RTK | Delivers real-time GPS corrections to the drone |
| Base Station | Sends corrections from a fixed, known location |
| Rover | Receives correction data (typically the drone) |
| GCP | Used for map alignment and accuracy verification |
| Checkpoint | Used only for validating mapping accuracy |
| Orthomosaic Map | Flat, metric-accurate map created from drone images |
Benefits of RTK Drone Mapping
Flying with RTK gives you some specific wins that you don’t get from standard drones or even some older mapping methods. Here’s why people are talking about the benefits of RTK in aerial surveying:
- Consistent survey-level precision: Resulting maps and models are suitable for professional tasks like construction planning or land measurement.
- Fewer ground control points required: Because RTK corrections are so accurate, you usually won’t need dozens of GCPs all over your site.
- Faster workflow: RTK cuts down on time both in the field and in post-processing, especially compared to traditional surveying.
- Improved reliability: Since corrections happen in real-time, location errors caused by signal drift or poor satellite geometry are reduced.
RTK drone mapping can also be seamlessly bolted onto other drone-based workflows, such as high-detail asset inspection or creating GIS-ready models for more advanced applications (integrated with GIS and CAD software).
So, if maximizing accuracy is your priority and you want results you can actually depend on, using RTK with your drone mapping setup is the way to get there.
Essential Equipment for Precise Mapping
Alright, so you want to get into drone mapping and get those super accurate results. It’s not just about grabbing any old drone off the shelf. You need the right gear to make sure your data is spot on. Think of it like building a house – you wouldn’t use a butter knife to hammer nails, right? Same idea here.
Choosing the Right RTK Drone
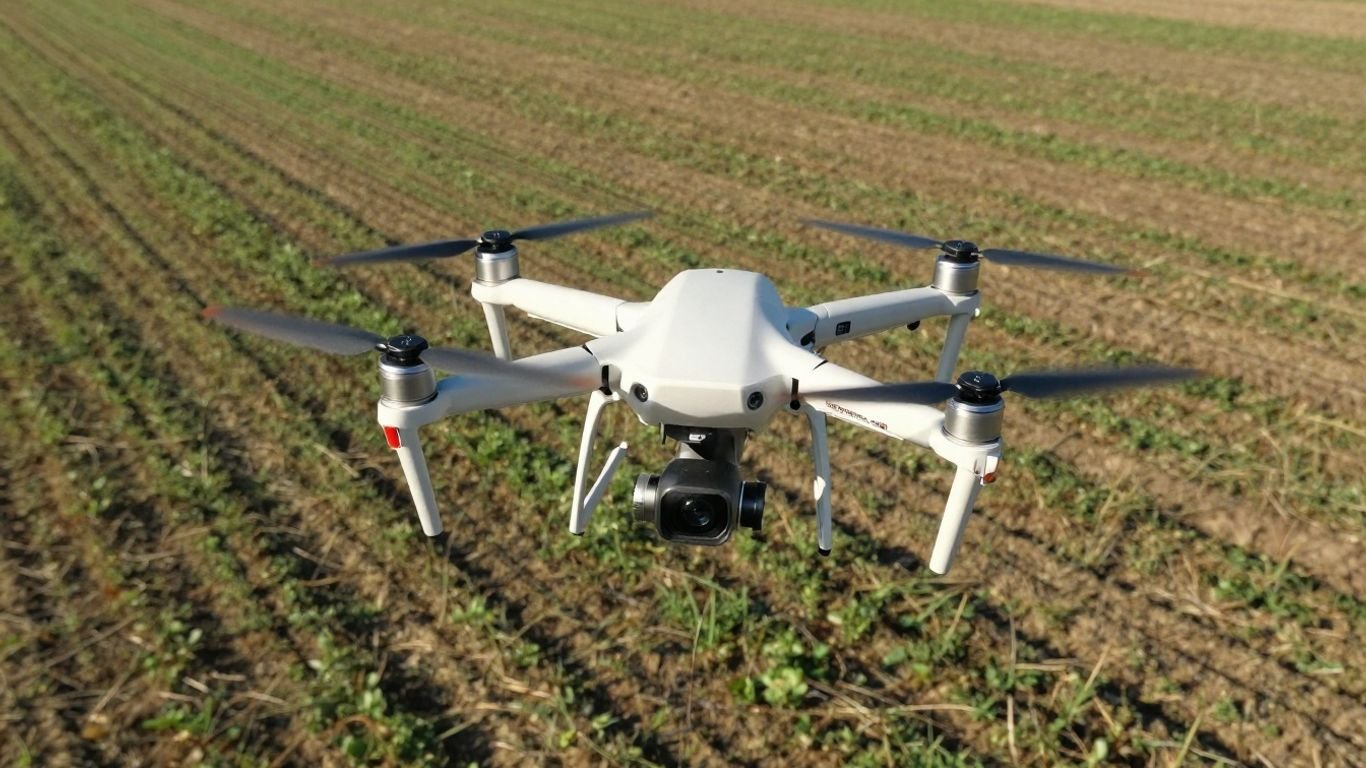
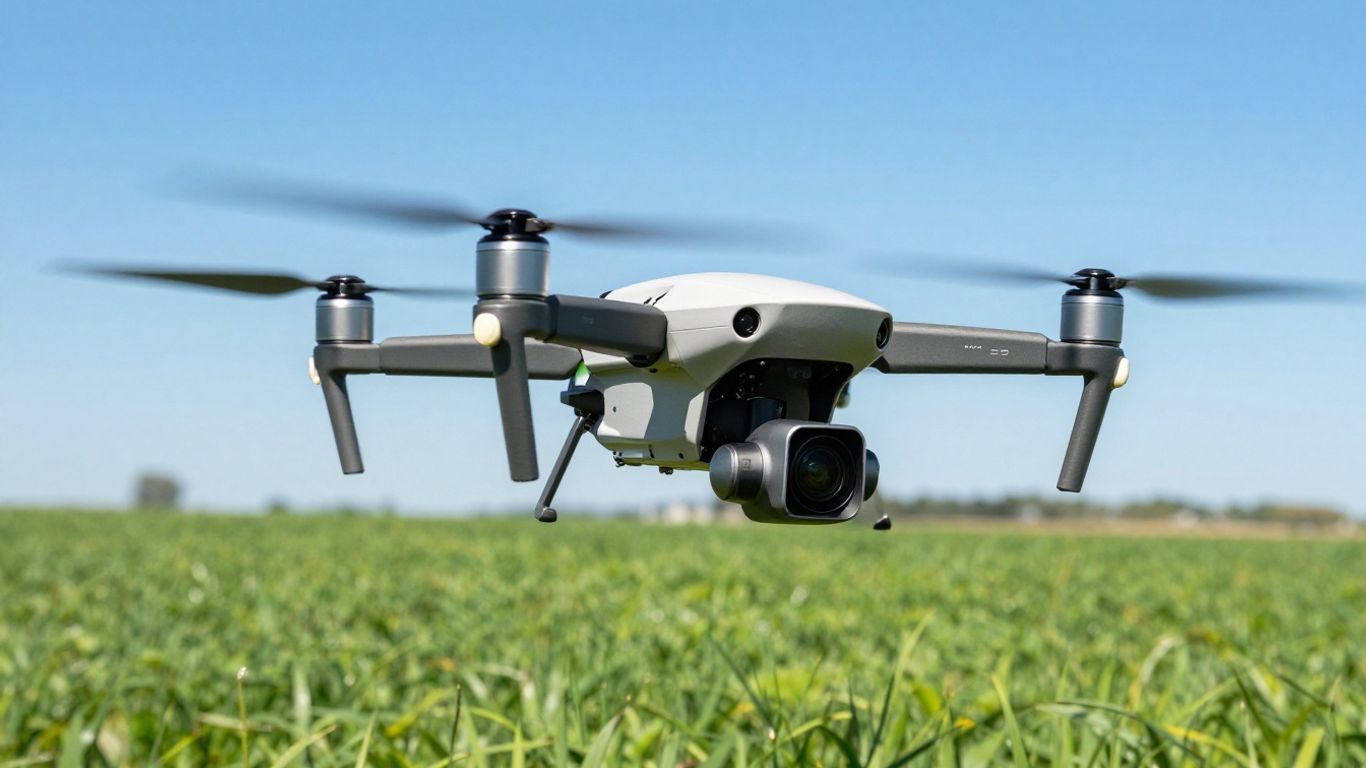
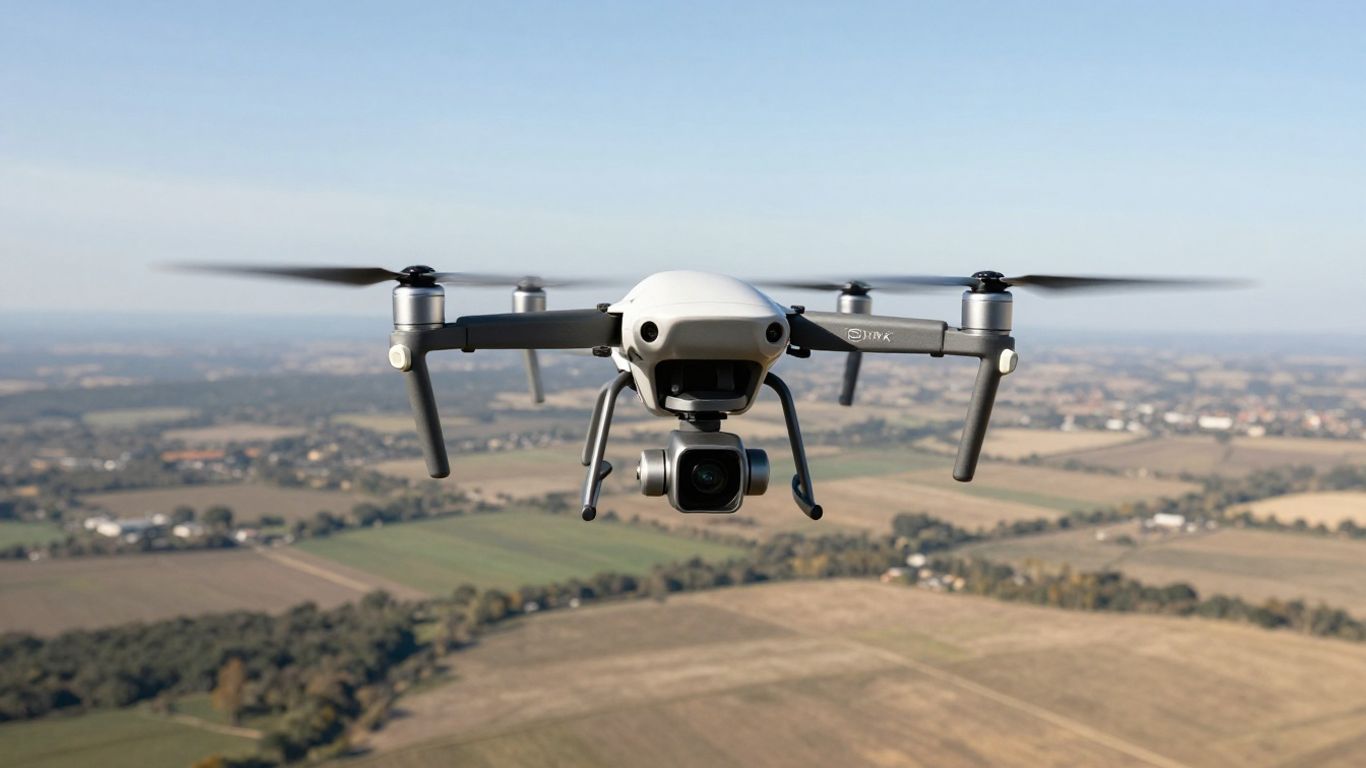
First off, the drone itself. For precision mapping, you’re going to want a drone that’s RTK-enabled. What does RTK mean? It stands for Real-Time Kinematic, and basically, it’s a fancy GPS system that gives your drone incredibly precise location data, down to the centimeter. This is a big deal because it means the photos your drone takes are already tagged with super accurate coordinates. No more guesswork. Drones like the DJI Matrice 350 RTK are built for this kind of work, offering stability and the ability to carry different sensors. Even some smaller, more budget-friendly options are starting to include RTK capabilities, so there are choices depending on your needs and budget.
Base and Rover Units for Accuracy
Now, for that centimeter-level accuracy, you need a ground support system. This usually involves a base station and a rover unit. The base station sits on the ground at a known point (or a point you establish with high accuracy) and sends correction signals. Your drone, acting as the rover in the air, receives these signals. This communication is what allows the drone to know its position with such precision. Think of the base station as the anchor, constantly telling the drone, "You’re exactly here." Some setups use NTRIP, which is a way to get correction data over the internet, so you don’t always need a physical base station if you have good cell service. Getting the right GNSS receiver is key here.
Ground Control Points and Their Role
Even with RTK, you’ll still want to use Ground Control Points, or GCPs. These are physical markers you place on the ground in specific spots within your survey area. You then record their exact coordinates using your rover unit. Why bother? Well, GCPs act as a sanity check and an extra layer of accuracy. They help tie your drone’s data to the real world, especially if there are any GPS signal issues during the flight. They’re also super helpful when you’re processing your data later. You’ll typically want at least 4-5 GCPs spread out across your site. For really critical projects, you might even set up permanent checkpoints to verify your results over time.
Here’s a quick rundown of what you’ll generally need:
- RTK-Enabled Drone: For precise geotagging of images.
- Base Station & Rover Unit: To provide real-time correction data.
- Ground Control Points (GCPs): Physical markers for verification and accuracy.
- Survey Pole: To accurately position the rover unit over GCPs.
- Laptop: For flight planning and data processing.
Setting up your equipment correctly is half the battle. Take your time, double-check your connections, and make sure your base station has a clear view of the sky. A little extra effort upfront saves a lot of headaches down the line when you’re processing your data and need it to be spot on.
Using a drone with LiDAR technology can also be an option for certain projects, especially if you need to map terrain under dense vegetation. LiDAR sensors use lasers to create detailed 3D point clouds, offering a different, but equally precise, way to capture data. LiDAR technology is rapidly advancing, making it more accessible for various applications.
The Drone Mapping Workflow
So, you’ve got your gear and you’re ready to map. What’s next? It’s all about the workflow, making sure everything runs smoothly from start to finish. This isn’t just about flying a drone; it’s about setting up for success before you even take off.
Setting Up the Base Station
First things first, you need to get your base station sorted. This is the anchor for your whole operation, sending correction signals to the drone. You’ll typically place it over a known point or establish one using NTRIP. Getting this base position just right is super important for getting that high precision drone mapping you’re aiming for. A wobbly or inaccurate base means your whole map will be off. Think of it like setting the zero point on a ruler – if that’s wrong, everything you measure will be wrong too.
Preparing and Collecting GCP Positions
Next up are your Ground Control Points, or GCPs. These are basically markers on the ground with known coordinates. They act like little signposts for the drone, helping it know exactly where it is in the real world. You’ll use a rover unit, which is like a portable GPS receiver, to collect the precise coordinates of each GCP. This step is vital for tying your drone data to real-world locations, especially if you’re doing any kind of survey work. You’ll want at least 4-5 of these spread out across your site for good coverage.
Establishing the RTK Connection
With the base station running and GCPs identified, it’s time to link everything up. You’ll connect your drone to the base station, usually through a radio link or an internet connection. This is where the RTK magic happens. The base station sends real-time corrections to the drone’s GPS, allowing it to know its position with centimeter-level accuracy. This connection needs to be stable throughout the flight. If the connection drops, the drone might revert to standard GPS, which isn’t accurate enough for precise mapping. It’s a bit like having a live phone call versus sending a text message – the live call gives you instant feedback and accuracy.
The entire process hinges on a reliable chain of information. From the base station’s fixed point, to the rover’s precise GCP measurements, to the drone receiving those corrections mid-flight, each step builds upon the last. Any break in this chain compromises the final accuracy of your map.
Executing and Processing Your Mission
Planning the Drone Flight Path
Before you even think about launching, a solid flight plan is your best friend. This isn’t just about drawing a line on a map; it’s about defining exactly what you need to capture and how. You’ll want to consider your project’s goals – are you looking for high-resolution images for a detailed 3D model, or a broader overview? This dictates things like flight altitude, camera angle, and the overlap between images. Most mapping software will help you set this up, often using a grid or ‘lawnmower’ pattern to make sure you don’t miss a spot. It’s also super important to check for any airspace restrictions or get the right permissions before you fly. Think of it like getting a permit for a construction site; you need to know the rules.
Executing the Autonomous Flight
Once your plan is locked in, it’s time for the actual flight. Most modern mapping drones can fly autonomously, following the path you’ve programmed. Your job during this phase is mostly supervision. You’ll be watching the drone’s progress on a tablet or ground station, keeping an eye on battery levels, GPS signal, and any alerts. It’s a good idea to always keep the drone within your line of sight, just in case something unexpected happens. Modern drones have great obstacle avoidance, but it’s still smart to be aware of your surroundings, like power lines or trees. Setting up the ‘Return-to-Home’ function is also a standard safety step.
Data Processing and Model Generation
Okay, the drone’s back on the ground, and you’ve got a pile of images. Now what? This is where the magic happens, turning those raw photos into something useful. You’ll need to transfer the data from the drone’s memory card to your computer. Organizing these files right away is key – create folders for each project, date, and location. Then, you’ll feed these images into specialized photogrammetry software. This software stitches all the overlapping images together, using common points to reconstruct the area you mapped. The result? High-resolution orthomosaics and detailed 3D models. The quality of your final output really depends on the quality of the images you captured and how well you planned the flight. For projects needing top-notch accuracy, integrating your Ground Control Points (GCPs) during this stage is vital. This whole process can take a while, depending on the amount of data and your computer’s power. Some teams prefer to handle this themselves, while others find it easier to use a service that processes the data for them, especially for large construction mapping projects [dd4d].
The transition from raw aerial images to a usable map or 3D model is a technical step. It requires software that can analyze the geometry and perspective of each photo, find common features, and then calculate the precise location of those features in 3D space. This process is computationally intensive and relies heavily on the quality and consistency of the captured imagery.
Achieving Survey-Grade Accuracy
Getting survey-grade accuracy with your drone mapping isn’t just about having the right gear; it’s about how you use it and the little details you pay attention to. Think of it like baking a cake – you need good ingredients, but the technique matters just as much. The goal is to minimize any potential errors from the moment you start planning until you’re looking at your final map.
The Importance of Accuracy
When we talk about survey-grade accuracy, we’re referring to data that meets the high standards expected in professional land surveying. This level of precision is vital for applications where even small discrepancies can have big consequences, like construction site monitoring or boundary surveys. It means your drone’s output is reliable enough for critical decision-making. It’s important to note that in many places, only licensed surveyors can legally offer or advertise "survey-grade" results. Always check your local regulations to avoid any issues.
Using Checkpoints for Validation
Checkpoints, often called Ground Control Points (GCPs) when used for control, are your reality check. You’ll place these markers on the ground before your flight and record their exact coordinates using your RTK system. After your drone collects its imagery and you process the data, you’ll compare the coordinates of these checkpoints in your processed map against their known, highly accurate ground measurements. This comparison tells you how well your drone mapping project performed. If the numbers match up closely, you know your data is good to go. If there’s a significant difference, it signals that something in your workflow might need adjustment for future missions. This validation step is key to trusting your final output.
Best Practices for GCP Measurement
Getting accurate GCP measurements is where the real magic happens for precision. Here are some tips that make a big difference:
- Wait for a Stable Fix: When you’re using your RTK rover to record a GCP’s location, don’t just tap the button and run. Wait about 5 to 10 seconds. This gives the receiver time to lock onto the satellite signals and confirm its position accurately, especially if there are trees or buildings blocking the sky.
- Use a Bi-pod: Even the steadiest hand can introduce tiny movements. Using a bi-pod for your survey pole keeps the rover perfectly still while it’s recording the point. This simple step can eliminate a common source of error.
- Make GCPs Visible and Identifiable: Your GCPs need to be easy to spot in the drone’s photos, even from high up. Use large, high-contrast targets. Consider marking the very center of the GCP clearly; this is where you’ll aim your survey pole. A well-marked center helps ensure you’re measuring the exact spot you intend to.
Proper measurement of your Ground Control Points is not just a step; it’s the foundation upon which your entire project’s accuracy rests. Treat each measurement with care, as small errors here can multiply significantly in the final map.
Remember, consistent application of these practices will help you achieve the reliable, high-accuracy results you need from your drone mapping efforts. For more on drone surveying principles, you can explore drone surveying basics.
Analyzing and Delivering Your Data
Once the drone flight is finished and the raw data is back in your hands, there’s a whole new process ahead. Let’s break down how you get from a stack of images or sensor readings to something truly useful, accurate, and easy for your client or team to work with.
Analyzing Drone Mapping Outputs
The first real step after landing is to transfer photographs, LiDAR readings, or other files to your processing computer. Most people simply pull the SD card, but some modern drones let you transfer files wirelessly.
Getting this data organized early is a big deal—use folders labeled by project, date, and site location. When the files are mixed or mislabeled, it’s a pain to track accuracy and workflow later.
Drone mapping software, especially photogrammetry programs, will use these organized images to generate orthomosaic maps, 3D point clouds, and other models. The program will look for matching points in different images, then reconstruct what was on the ground. You’ll want to pay attention to settings like output format and coordinate system.
Here’s what most outputs look like, and how they’re often used:
| Output Type | Use Case | Common File Type |
|---|---|---|
| Orthomosaic Map | Site planning, volume | GeoTIFF |
| 3D Point Cloud | Modeling terrain/details | LAS, LAZ |
| Mesh/Model | Visualization | OBJ |
Carefully review the maps and models for things like gaps, distortions, or strange holes.
- Use built-in quality reports in your software to check accuracy.
- Compare outputs against ground control points (GCPs) and checkpoints.
- Measure features, calculate distances and volumes, or overlay extra datasets if your project calls for it.
It’s normal for the first run to have small errors. Take time to fix issues now, because small mistakes can multiply if you use the files downstream or pass them to others.
For more insights into the kinds of drone mapping outputs possible, take a look at an introductory guide to drone mapping.
Delivering Client-Ready Results
Not everyone wants the raw data, and plenty of folks don’t know what to do with a big folder full of files. Instead, they ask for maps, models, and simple reports they can use right away.
Here’s how to keep your results work-friendly:
- Pick the file formats that your client or team can actually use (GeoTIFF for maps, LAS/LAZ or OBJ for 3D data, or PDFs for simple reports).
- Create easy instructions—maybe a short PDF or a clear email—that explains what each file is and how to open it.
- Use cloud folders, secure web links, or physical media for delivery so nobody is left hunting for files.
If the project requires, export a simple table showing checkpoint accuracy or error margins:
| Checkpoint Name | X Error (cm) | Y Error (cm) | Z Error (cm) |
|---|---|---|---|
| CP1 | 1.2 | 0.9 | 2.0 |
| CP2 | 0.8 | 1.3 | 1.7 |
Clear documentation avoids confusion and means clients know what they’re getting.
Integrating Data into GIS and CAD
RTK drone models slot right into GIS or CAD software for mapping, engineering, or environmental work. Before importing, make sure every file has:
- The coordinate system clients expect (often UTM or State Plane)
- File types matched to the downstream program (GeoTIFF, DXF, etc.)
- Accuracy details, if you’re claiming survey-grade work
This helps teams avoid mismatches and the messy process of realigning or reformatting data at the last second. If the workflow or output must fit a bigger survey, always ask for the standard formats and coordinate systems first. Some teams use their own custom setups, so confirm two or three times before exporting and sharing.
For a better understanding of the survey workflow and how mapping results connect to GIS work, see the drone survey workflow overview.
Sharing accurate, ready-to-use mapping files saves time, lets clients move on with their projects, and keeps everyone happy with less back-and-forth.
Wrapping It Up
So, there you have it. RTK drone mapping might sound complicated, but when you break it down, it’s really about using the right tools to get super accurate location data. We’ve covered how the base station talks to the drone, why those ground markers matter, and how to get your flight plan just right. It’s not magic, just a solid process. With a good RTK drone and a bit of practice, you can start making maps that are spot-on. It really does make a big difference for getting precise results, whether you’re surveying land or checking on a construction site. Give it a try; you might be surprised at how manageable it all is.
Frequently Asked Questions
What does RTK mean in drone mapping?
RTK stands for Real-Time Kinematic. It’s a GPS correction method that lets drones know their exact position down to a few centimeters. This makes maps made by drones much more accurate because the drone receives real-time corrections from a base station while flying.
Why are Ground Control Points (GCPs) important?
GCPs are special marked spots on the ground with known locations. They help the mapping software line up drone pictures correctly with the real world. This makes the final map or model much more accurate.
Can I use any drone for RTK mapping?
No, not all drones have RTK capability. You need a drone that is built for RTK or can connect to an RTK module. Regular drones without RTK can still map, but their results won’t be as precise.
What equipment do I need for a basic RTK mapping setup?
You need an RTK-enabled drone, a base station to send corrections, a rover to mark GCPs, and mapping software to process the images. Sometimes, you also need extra batteries and visible markers for GCPs.
How do I make sure my drone map is accurate?
To get the best accuracy, set up your base station on a known spot, use GCPs across your area, double-check your equipment before flying, and use checkpoints to validate your results. Always process your data with the right software and check for any mistakes.
What can I do with the maps made by RTK drones?
You can use these maps for many things, like measuring land, planning construction, checking crops, or tracking changes over time. The maps can be shared with clients or added to programs like GIS or CAD to help with planning and analysis.