
DJI Mavic Pro: A complete guide to features, flying, and buying decisions

Key Takeaways
The DJI Mavic Pro remains a capable foldable drone, but its age changes how you should evaluate it. The best buying decision depends on condition, batteries, software support, local rules, and the kind of footage you want to make.
- Its foldable body makes transport unusually convenient for its class.
- GPS/GLONASS positioning, vision systems, and Return-to-Home support a more approachable flight experience.
- The camera and three-axis gimbal can still produce useful aerial photos and video in good light.
- Used examples require careful checks of batteries, propellers, motors, controller, and firmware compatibility.
- Newer models may be a better fit if you need modern obstacle sensing, camera performance, or longer endurance.
Understanding what the DJI Mavic Pro offers
The original DJI Mavic Pro helped make a capable camera drone easier to carry. Its specifications still describe a practical aircraft: a folded size of 83 mm by 83 mm by 198 mm, a battery-and-propeller weight of about 734 g, GPS/GLONASS positioning, and a three-axis stabilized gimbal. The published maximum flight time is 27 minutes in specific no-wind test conditions, so real flights should be planned more conservatively. The Mavic Pro specifications are useful to keep open when comparing a listing with the actual aircraft.
Key specifications and standout features
The headline figures are best treated as reference points rather than promises. The aircraft is listed with a maximum Sport-mode speed of 40 mph without wind, while the controller’s stated transmission distance varies by regulatory region and assumes an unobstructed, interference-free environment. A three-axis gimbal, forward and downward vision systems, and satellite positioning give the platform a useful foundation for ordinary aerial work.
For a quick sense of the published numbers, this table separates test-dependent figures from design details:
| Feature | Published detail | Practical reading |
|---|---|---|
| Folded dimensions | 83 × 83 × 198 mm | Easier to pack than a rigid airframe |
| Weight | About 734 g with battery and propellers | Above the lightest regulatory categories |
| Maximum flight time | 27 minutes in stated conditions | Leave a reserve for the return flight |
| Gimbal | Three-axis stabilization | Helps keep footage level and smooth |
These figures make the aircraft attractive for travel and learning, but they do not remove the need for a pre-flight check. Wind, temperature, battery health, and signal conditions all affect what a pilot can safely accomplish.
Foldable design and portability
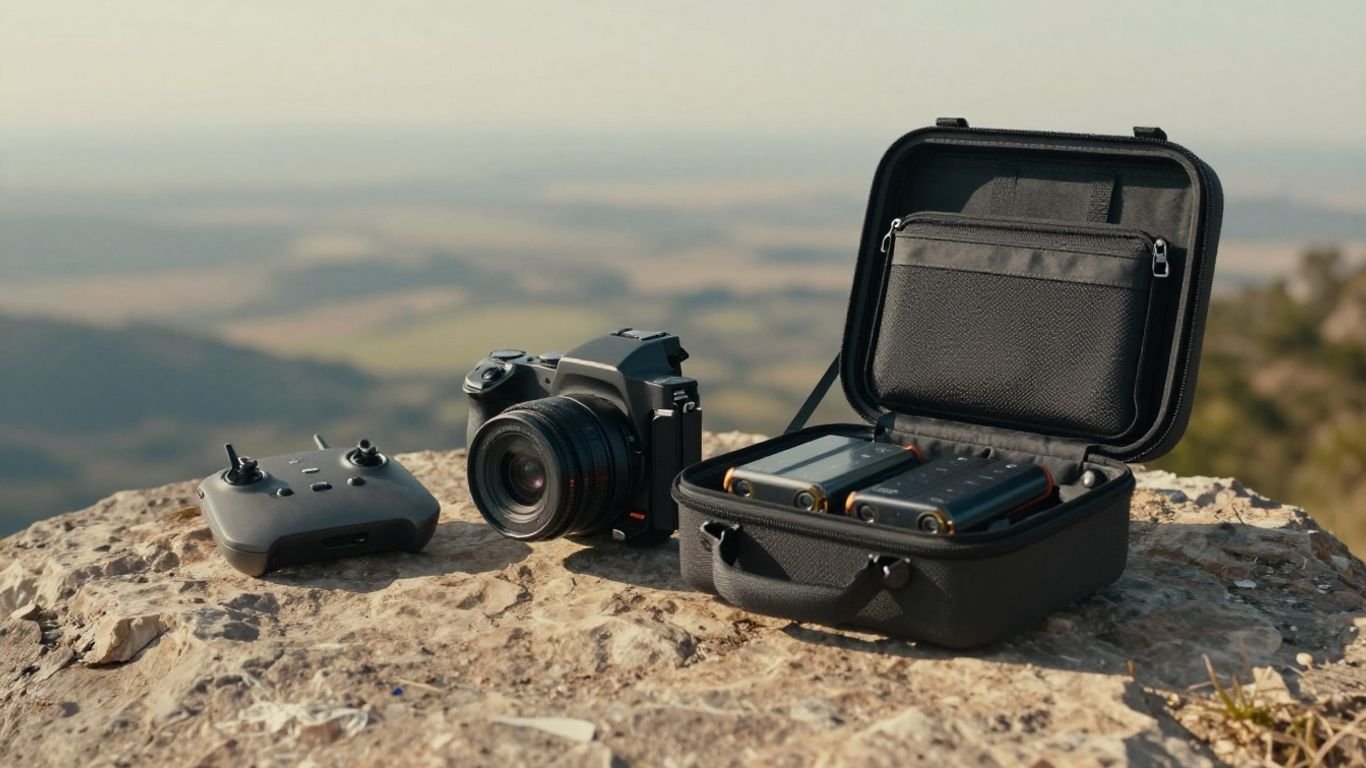
The folding arms and compact packed shape are the design’s most lasting advantage. A drone that fits into a small camera bag is more likely to be taken on a walk, trip, or location visit than one that needs a dedicated case. The folding mechanism also means that inspection matters: check that each arm opens cleanly and that no hinge or shell has signs of impact.
Portability should not be confused with fragility or permission to fly anywhere. Pack the aircraft with its gimbal protected, keep loose objects away from the propellers, and research the destination before launching. For a broader look at how foldable aircraft evolved, this Mavic series history provides helpful context.
Remote controller and flight experience
The controller is designed to work with a mobile device and uses two control sticks alongside dedicated flight and camera functions. Its supported phone dimensions and connector options matter when buying a used package, because an aging cable or incompatible phone can turn setup into needless frustration. Practice with slow movements first, keeping the aircraft close and visible.
A calm first session is more valuable than testing the maximum speed or range. Learn how the controls feel in a clear space, then rehearse stopping, hovering, and returning before attempting more ambitious routes.
Original Mavic Pro versus newer Mavic models
The original model should be judged as an older camera drone, not as a current flagship. Newer models can offer different camera systems, sensing arrangements, transmission systems, and endurance, so a comparison should begin with the work you actually do rather than with a model number. The Mavic 3 Pro, for example, is documented with a 4/3 CMOS Hasselblad camera, dual tele cameras, omnidirectional obstacle sensing, and a stated maximum flight time of 43 minutes.
That does not make the older aircraft useless. It means the original may make more sense for learning, occasional travel footage, or a carefully priced used purchase, while demanding commercial work may justify newer hardware.
Evaluating the DJI Mavic Pro camera
Aerial camera quality is shaped by more than resolution. Light, movement, exposure, lens cleanliness, stabilization, and the final viewing format all influence whether a clip feels polished. The DJI Mavic Pro can still be useful when expectations match its generation, especially for daylight scenes and deliberate movements.
Image quality for photos and video
Expect the strongest results in good light, with the aircraft moving slowly and the horizon kept clear of distracting clutter. Wide aerial scenes can look crisp and engaging when the composition does the work. Fine detail and shadow quality become less forgiving as the light falls, and older batteries or damaged gimbal components can make an otherwise attractive camera harder to use.
Shoot a short test clip before an important assignment. Watch for vibration, horizon drift, focus behavior, and compression after transferring the file rather than judging only the live preview.
Shooting modes and manual controls
A useful workflow begins with a simple exposure check. Decide whether the scene needs a still image, a smooth establishing clip, or a repeatable movement, then choose settings that leave room for the edit. Manual control is most helpful when brightness changes slowly across a scene, because it prevents the camera from visibly shifting exposure during a pan.
The photography SEO guide is aimed at photography businesses rather than drone operation, but its discussion of image optimization and portfolio presentation is a useful reminder: good capture and good delivery are separate parts of the process.
Gimbal performance and stabilization
The three-axis gimbal is central to the aircraft’s usable footage. Before takeoff, remove its protective cover, check for anything touching the camera, and watch the horizon during a gentle yaw. Smooth inputs matter just as much as the hardware; abrupt stick movements can make stabilized footage look nervous.
A level horizon is not guaranteed in every condition. If the camera appears tilted, land and inspect the gimbal before repeatedly recalibrating or continuing the flight.
Low-light limitations and realistic expectations
Low light exposes the limits of an older small aerial camera. Noise, softer detail, motion blur, and harder-to-control highlights are normal challenges after sunset or beneath heavy cloud. Raising exposure can brighten a frame while making noise more obvious, so a slower, steadier flight and a carefully chosen subject usually help more than chasing a brighter setting.
Treat twilight as a planning exercise. A location that looks dramatic to the eye may need extra ambient light, a stable composition, and a willingness to accept a shorter usable shooting window.
Setting up the DJI Mavic Pro for the first flight
A first flight should feel deliberately boring. Charge everything, inspect the aircraft, install the required software available for your equipment, and give yourself enough time to resolve warnings before leaving the ground. The goal is not to memorize every menu; it is to create a repeatable routine that catches simple problems early.
Charging the drone, controller, and batteries
Use compatible chargers and examine each battery for swelling, damage, unusual heat, or physical deterioration. A full indicator does not prove that an old battery is healthy, so note how quickly the charge falls during a cautious test flight. Charge the controller as well, since a drone with power but no dependable control link is not ready to fly.
Keep charging on a stable, nonflammable surface while you are present. Do not pack a battery immediately after a demanding flight while it is still hot.
Installing the DJI GO 4 app and required firmware
The setup process depends on the phone, controller, aircraft, and software versions available for this older platform. Confirm compatibility before buying a used unit, then connect the equipment at home where you have reliable internet and time to read any warnings. If an update fails, record the exact message rather than repeatedly disconnecting cables or powering down mid-process.
Older products can have changing support conditions, so official documentation is more useful than a seller’s casual assurance. The official Mavic Pro support page is the sensible starting point for specifications and product information.
Calibrating the compass, IMU, and gimbal
Calibration should be performed when the app or aircraft indicates it is needed, and it should be done on a stable surface away from large metal objects. Follow the on-screen sequence exactly, keeping the aircraft still when instructed. A gimbal calibration is not a cure for impact damage, a blocked mechanism, or a visibly bent component.
After calibration, check the live view and hover close to the launch point. If the aircraft behaves unexpectedly, land first and diagnose the cause instead of trying to correct it in the air.
Choosing a safe location for takeoff
Select an open area with a clear path upward and room to land. Avoid crowds, roads, power lines, reflective surfaces, and places where a lost signal would leave the aircraft over people or property. Check wind at the aircraft’s intended height, not only where you are standing.
A good launch site also makes recovery simple. Keep the controller, phone, spare batteries, and landing area organized so your attention stays on the aircraft.
Flying the DJI Mavic Pro with confidence
Confident flying comes from leaving options open. Maintain visual awareness, keep a generous battery reserve, and use automated functions as assistance rather than as a substitute for judgment. Even a stable GPS-assisted flight can become complicated when wind, trees, buildings, or interference enter the route.
Using GPS, positioning, and return-to-home functions
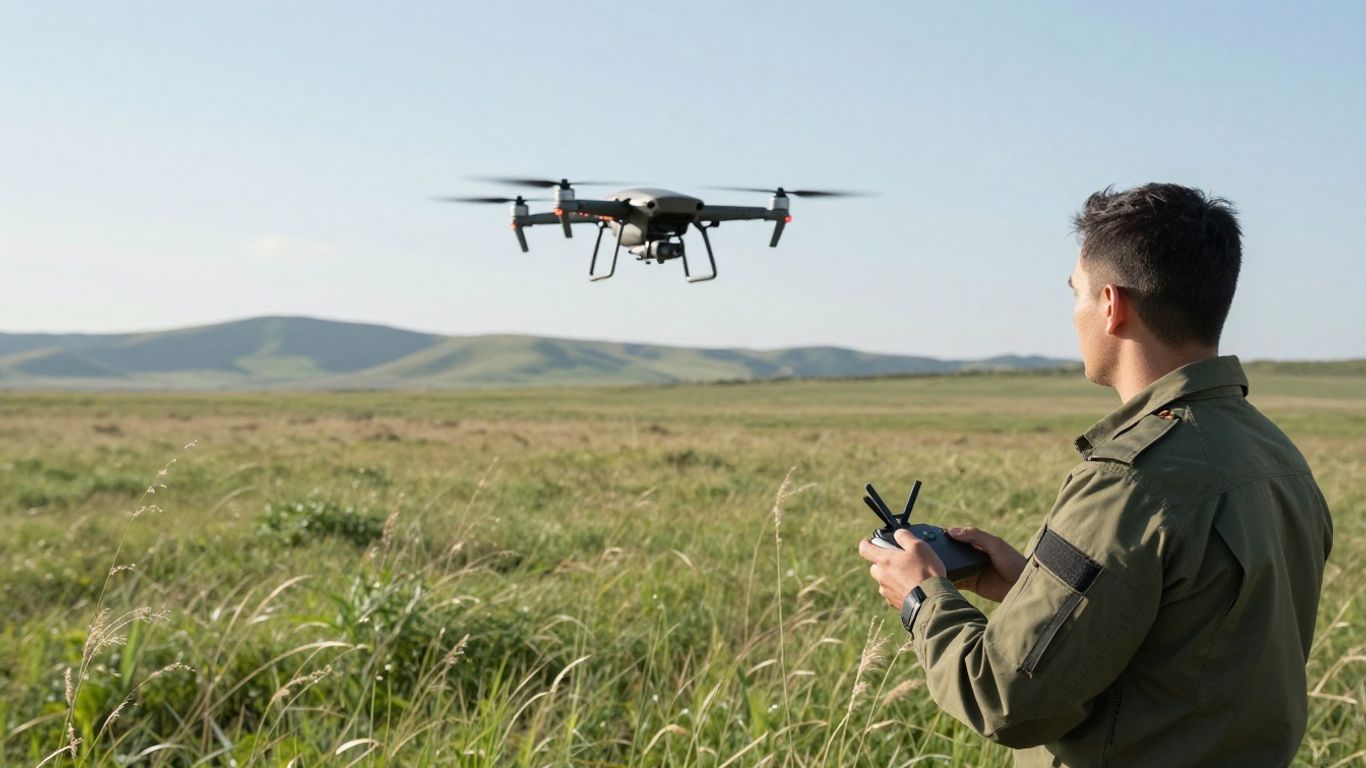
Satellite positioning can help the aircraft hold its place, while vision systems support positioning in their intended operating conditions. Return-to-Home is a recovery function, not a magic escape route: set an appropriate return height, understand the route, and confirm that the home point has been recorded before moving far away.
Remain ready to take control. A return path that was clear at takeoff may not remain clear after the aircraft moves behind a structure or into changing surroundings.
Managing battery life and flight range
Published endurance figures come from controlled conditions. Real flight time changes with wind, temperature, speed, payload, battery age, and how much reserve you keep. Start the return earlier than your instinct suggests, especially when flying into a headwind.
A simple reserve plan is easier to follow than watching the percentage obsessively:
- Begin the return with enough charge for the route and a landing delay.
- Keep extra margin when flying in wind or cold conditions.
- Stop the flight if battery behavior becomes unusually quick or erratic.
- Record which battery was used and any warning that appeared.
This habit turns battery management into a routine rather than a last-second decision. Range figures should likewise be treated as unobstructed, interference-free estimates, not as a target for ordinary flying.
Adjusting intelligent flight modes
Automated flight modes can make repeatable movements easier, but they still require a clear area and an attentive pilot. Begin with the aircraft nearby, set conservative distances, and watch the whole route rather than only the phone screen. If a mode behaves differently from what you expected, cancel it and hover or land safely.
Automation is most useful when it supports a shot you have already planned. It should not be the reason you fly into a location you have not inspected.
Handling wind, obstacles, and signal interference
Wind is often more significant on the return leg than on the outward journey. Buildings, trees, and terrain can also interrupt the signal or create turbulent air. Keep the aircraft within a route you understand, avoid squeezing between obstacles, and do not assume that a live video feed means every hazard is visible.
A safe flight is one that leaves the pilot time and space to change plans.
That principle applies even in familiar locations. If the weather shifts or the signal becomes unreliable, the best shot is usually the one you abandon early.
Capturing better aerial photos and videos
Aerial work improves quickly when each flight has a small purpose. Rather than collecting random clips, decide what the viewer should notice and how the aircraft will reveal it. A simple route, stable light, and a clean beginning and ending often produce more useful material than constant movement.
Planning shots with altitude, movement, and composition
Scout the scene from the ground first. Look for leading lines, changes in texture, isolated subjects, and a natural foreground. Then choose one movement—forward, backward, sideways, rising, or rotating—and perform it slowly enough that the viewer can understand the scene.
Vary height with intention. A low pass can show texture and scale, while a higher view can simplify a landscape into shapes and patterns. Always keep the route legal and clear before concentrating on composition.
Choosing resolution, frame rate, and exposure settings
Choose the recording format based on the final use. A higher frame rate can help with gentle slow motion, while a standard frame rate may suit a straightforward real-time scene and reduce storage demands. Exposure should be checked against bright sky and dark ground together, since aerial scenes often contain both.
Make a short test and review the highlights before committing to a long take. Consistent exposure settings usually make an edit feel calmer than frequent automatic shifts.
Using ND filters and controlling shutter speed
Neutral-density filters reduce the light entering the lens, which can make it easier to use a slower shutter speed in bright conditions. They are not a cure for poor composition or fast, jerky movement, and the wrong strength can force an image too dark. Choose the filter after considering the sun, the scene, and the frame rate.
The practical aim is motion that looks natural without losing important detail. If the image becomes soft or smeared, remove the filter or change the exposure rather than treating the accessory as mandatory.
Organizing, transferring, and editing footage
Create a simple file routine before the card fills. Copy original files to two locations, label folders by date and location, and keep a note of which battery or flight produced an important clip. Transfer a small sample first if you are working with an older phone, cable, or card reader.
For presentation, the photography portfolio SEO advice offers a related lesson about image preparation and website performance. The footage still needs an honest edit: remove hesitant starts, preserve a few seconds of breathing room, and avoid grading shadows so heavily that noise becomes the subject.
Maintaining and troubleshooting the DJI Mavic Pro
Maintenance is mostly observation. Small cracks, damaged propeller edges, loose components, and unusual battery behavior should be addressed before the next flight, not after a warning appears in the air. Keep a brief log of impacts, calibrations, firmware changes, and battery performance.
Inspecting propellers, motors, and landing gear
Run a finger lightly along each propeller edge and look for nicks, bends, or whitening around stress points. Check that motors turn smoothly without grit or unusual resistance, and inspect the landing gear and shell for cracks. After a hard landing, look beyond the obvious mark: vibration can come from a damaged propeller or a shifted gimbal component.
Replace questionable parts with compatible components rather than trying to straighten damaged flight hardware. A cheap part is not worth risking an aircraft or bystander.
Storing batteries safely between flights
Batteries should be stored cool, dry, and away from heat, moisture, and anything that could puncture them. Do not use a pack that is swollen, cracked, leaking, or unusually hot. Before a trip, check charge levels and allow recently used batteries to cool before packing them.
Long-term storage deserves more care than simply leaving every battery full. Follow the manufacturer’s current storage guidance for the specific battery, and keep damaged packs out of service until properly handled.
Solving common connection and calibration issues
Start with the basics: restart the aircraft and controller, check the cable and phone connection, confirm the correct sequence for powering on, and move away from obvious interference. If a compass or IMU warning appears, follow the app’s instructions in a suitable location rather than calibrating repeatedly in the same problematic spot.
Write down what changed after each step. That small record helps distinguish a cable problem from a software issue and prevents circular troubleshooting.
Knowing when repairs or replacement parts are needed
Stop flying after a collision if the aircraft vibrates, drifts, makes a new sound, or shows a gimbal fault. Cosmetic marks may be harmless, but a crack near an arm, motor, or battery compartment deserves professional assessment. The same caution applies to a battery that no longer behaves consistently.
A repair decision should include parts availability, labor, software support, and the cost of a dependable replacement aircraft. A low purchase price is not a bargain if the first flight reveals several hidden faults.
Deciding whether the DJI Mavic Pro is right for you
The right choice depends on what you value most: low entry cost, portability, camera output, reliability, or current support. An older drone can be enjoyable and capable, but its condition matters more than its original list of features. Compare the complete package, not just the aircraft in a photograph.
Comparing used, refurbished, and new purchase options
Used listings can offer the best value when the seller can demonstrate a clean hover, stable gimbal, healthy batteries, working controller, and complete accessories. Refurbished equipment may offer a clearer return path, but inspect the warranty terms and exactly what has been replaced. New stock, where available, should still be checked for software and battery age.
Ask for flight history, close-up photos, and a video showing startup and camera movement. Be cautious when a seller avoids basic questions or relies only on old promotional specifications.
Estimating the cost of batteries, accessories, and repairs
The aircraft price is only one part of ownership. Budget for at least one dependable battery, charging equipment, propellers, storage, transport protection, and possible service. Older accessories may be difficult to replace, so confirm compatibility before assuming a bundle is complete.
A useful comparison includes the first year of practical ownership. Sometimes paying more for a better-maintained package is cheaper than rebuilding a neglected one piece by piece.
Checking local drone laws and registration requirements
Rules vary by country, state, and municipality and can change over time. Check registration, pilot competency, airspace, privacy, operating hours, altitude, and distance-from-people requirements with the relevant aviation authority before flying. Weight alone does not answer every legal question.
For administrative topics outside drone law, a trustee responsibilities guide illustrates why careful records and professional advice matter. That is a general planning principle, not a substitute for aviation guidance.
Considering newer alternatives for advanced features
A newer aircraft may be worthwhile if you need more recent obstacle sensing, a newer transmission system, improved low-light performance, or longer endurance. The DJI Mini 4 Pro is documented as a compact model with advanced obstacle avoidance, an O4 transmission system, and ActiveTrack 360°, making it a useful reference point when assessing newer expectations.
Do not upgrade simply because a newer number sounds better. Match the replacement to your shooting conditions, transport needs, legal situation, and tolerance for learning a different app or control system.
Conclusion
The DJI Mavic Pro still makes sense as a compact introduction to aerial photography when the aircraft is healthy, the price is sensible, and the pilot plans conservatively. Treat its published performance as conditional, inspect used examples carefully, and choose newer equipment when current sensing, endurance, or camera performance is central to the work.
Frequently Asked Questions
Is an older camera drone still worth buying?
It can be, provided the aircraft, batteries, controller, and software setup are all in dependable condition and the price reflects the product’s age.
What should I test before buying a used drone?
Check the shell, arms, propellers, motors, gimbal, camera feed, controller connection, batteries, charging equipment, and a short hover test.
How much flight time should I expect?
Published maximum flight time is measured under controlled conditions. Wind, temperature, battery age, speed, and a sensible return reserve reduce usable time.
Do I need to calibrate before every flight?
Not usually. Calibrate when the aircraft or app requests it, after relevant impacts or travel, or when flight behavior suggests a positioning problem.
What weather is suitable for a first flight?
Choose calm, dry conditions with good visibility and moderate temperatures. Avoid rain, strong gusts, ice, and locations where wind changes sharply around buildings or terrain.
How can I make aerial video look smoother?
Plan one simple movement, fly slowly, keep exposure consistent, avoid abrupt stick inputs, and leave clean handles at the beginning and end of each clip.
What should I do if the signal becomes unreliable?
Stop extending the route, keep the aircraft in sight, allow the recovery function to work if appropriate, and land as soon as it is safe to do so.